



- Room 1807, Unit 9, Building 2, Shangxing Commercial Street, Shangde Road, Shangxing Community, Xinqiao Subdistrict, Bao'an District, Shenzhen City, China
CONTACT US

WhatsApp


Contact Us
Our team is on stand by, waiting toassist you.

Videos
A large collection of educational videos and tutorials.

About Us
Learn about our company, leadership, and mission totransform manufacturing.

Privacy Policy
Applies to all personal information collected through and/or processed in connection.


Aerospace & UAV
WJ Prototypes is your 3D manufacturing partner from prototype to large scale production.

Consumer Electronics
New Product Introduction Solutions for Consumer Electronics.

Robotics & Automation
Need some assistance bringing your robotic device or parts from the sketch-board to reality?

Medical Devices
The medical industry needs high quality, dependable and safe parts and products.

Automotive
New Product Introduction Solutions for Automotive

Industrial Machinery
The main purpose of industrial prototyping is to take the product from drawings into the real world.
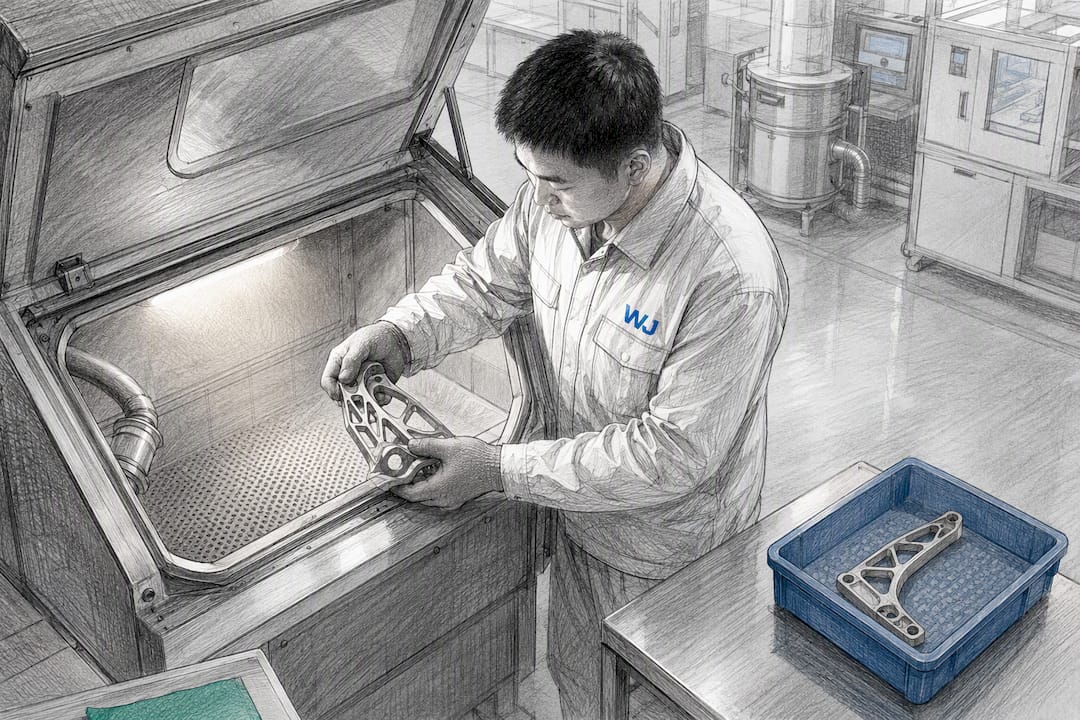
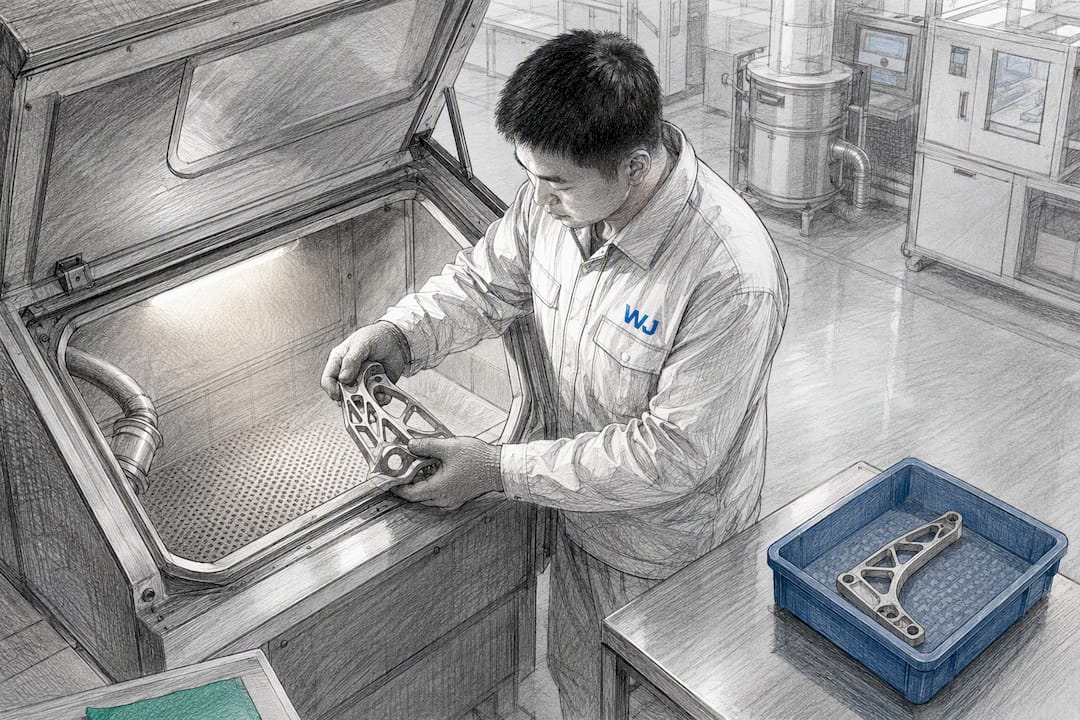
Four finishing families cover nearly every request an engineering team makes on China-sourced 3D printed parts: mechanical abrasion (sanding, tumbling, bead blasting), chemical smoothing for polymers (vapor or solvent smoothing), coatings and plating (paint, powder coat, electroplating, anodizing), and metal post-treatments (HIP and heat treatment). Scope finishing at the quoting stage, not after parts arrive, and ask for process sheets, witness coupons, and a target Ra value in writing. A supplier that runs printing, machining, and heat treatment in-house can execute these chains as one order instead of three separate handoffs.
TL;DR:
- Mechanical finishing methods like vibratory abrasive finishing can reduce Ra from about 6 microns to below 2 microns within two hours, but scaling up favors batch processes over hand polishing.
- Vapor smoothing effectively seals and enhances appearance of polymer parts but causes slight dimensional changes that require design allowances for tight-tolerance features.
- When requesting quotes, specify target Ra with measurement method, note internal features limiting access, and include thermal cycle details to ensure the supplier’s process aligns with your requirements.
- A single integrated supplier capable of handling print, heat treatment, and finishing can streamline lead times and accountability, as long as you provide complete mechanical, thermal, and functional specifications upfront.
Most cosmetic and functional finish requests fall into two buckets: mechanical removal and chemical/thermal transformation. Knowing which one actually solves your problem saves a round of failed samples.
Mechanical methods work by physically removing material or smoothing peaks. Sanding and hand polishing handle small batches and cosmetic prototypes but scale poorly past a handful of units. Tumbling and vibratory finishing move a batch of parts against abrasive media in a rotating or oscillating drum, wearing down layer lines evenly across a whole lot. For AM Inconel samples, vibratory abrasive finishing cut Ra from roughly 6 microns down to 1.1 to 2.2 microns after four hours, with most of that improvement happening in the first two hours. Bead blasting is faster and cheaper, giving a uniform matte texture that’s popular for SLS and MJF nylon parts, though it barely touches Ra compared to vibratory finishing.
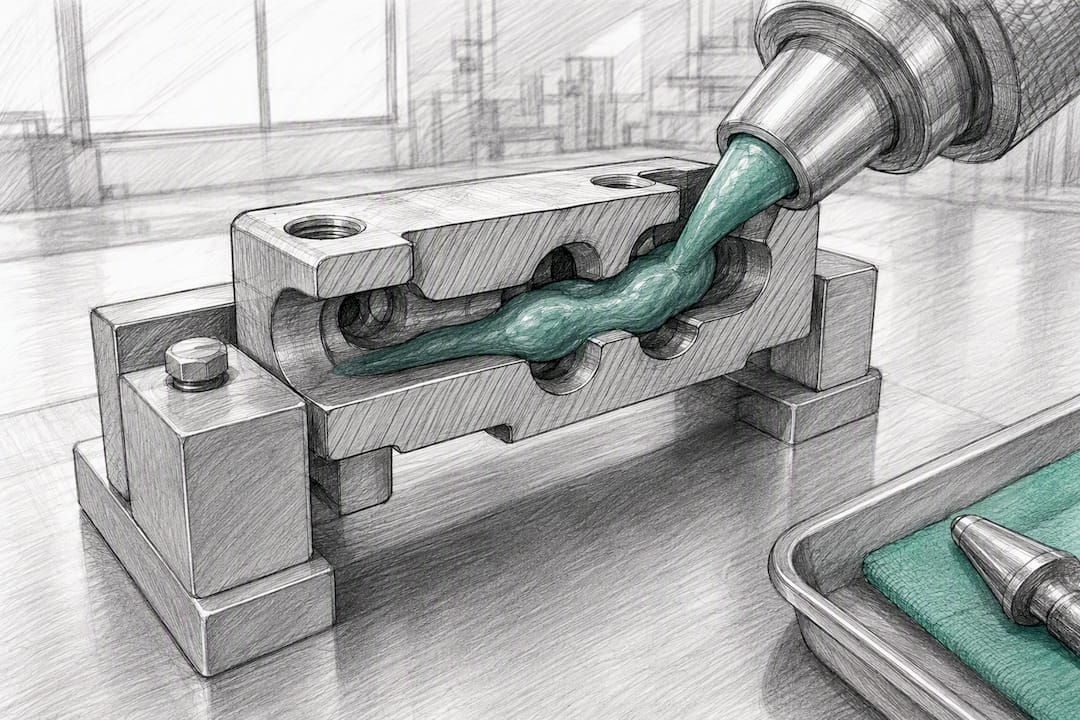
Abrasive flow finishing (AFF) pushes a semi-solid abrasive putty through internal channels under pressure. It’s one of the few methods that reliably reaches internal cavities and cooling channels that bead blasting or tumbling simply can’t touch, which matters a lot once you’re finishing manifolds, injection tooling inserts, or ducted brackets.
Chemical smoothing targets polymers specifically. Vapor smoothing (acetone vapor for ABS, or specialized solvents for other thermoplastics) melts and reflows the outer surface layer, closing layer lines and improving both appearance and part sealing. It works well on FDM and some SLA resins but changes dimensions slightly, so tight-tolerance features need a dimensional allowance built into the design.
Coatings and plating add a functional or cosmetic layer rather than removing material. Powder coating and painting need clean, properly prepped surfaces to adhere; skip prep and you get flaking within weeks. Electroplating and anodizing add real corrosion resistance and, on aluminum parts, a hard oxide layer that improves wear resistance. None of these substitute for internal densification, though.
Metal treatments deserve their own conversation, and get one below.
Polymers and metals need fundamentally different finishing logic, and mixing up the two is where most quote mismatches happen.
For polymer parts (FDM, SLA, SLS, MJF), the choice usually comes down to smoothing versus coating. FDM parts with visible layer lines respond well to vapor smoothing or sanding before any paint goes on. SLS and MJF nylon parts typically go straight to bead blasting or dyeing since their granular surface texture doesn’t respond to vapor smoothing the same way. SLA resin parts often just need light sanding and a clear coat, since the process already produces a relatively fine surface.
For metal parts, the real question is whether you need cosmetic finishing or structural consolidation. Machining and polishing alone won’t close internal porosity from the printing process. Hot isostatic pressing (HIP) reduces internal porosity to very low levels, below one hundredth of a percent, making it the standard route whenever a part faces fatigue loading or pressure containment. Cosmetic bead blasting on a part that still has internal voids just hides the problem under a nice matte surface.
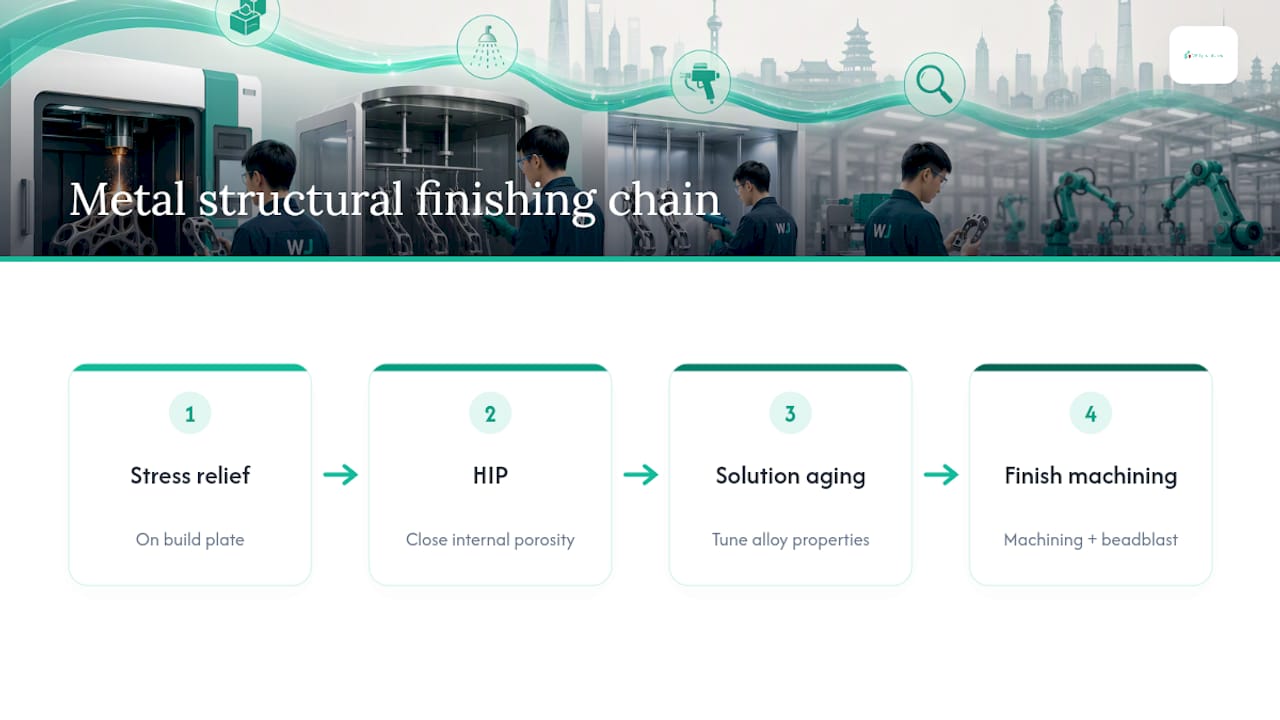
A common hybrid chain for a structural titanium or Inconel bracket looks like this: stress relief on the build plate, HIP to consolidate porosity, solution and aging heat treatment for the alloy’s target properties, then finish machining and bead blasting for dimensional accuracy and surface texture. Reviews of metal AM post-processing confirm this sequence as the default for parts that need to meet both mechanical and dimensional specs.
Pro Tip: Don’t request laser polishing or electropolishing on a part with internal channels below a few millimeters. Both processes deliver excellent surface finish on external features but can’t reach tight internal geometry, and electropolishing removes material unevenly on complex internal shapes.
The tradeoff across every hybrid chain is the same: better surface integrity costs more lead time and, often, some material loss from machining stock. A hybrid successive approach produces more consistent results on complex geometries than any single technique run alone, but each added step is another week on the schedule and another line item on the quote.
A vague finish request (“smooth, please”) produces vague results. Specify these points in order, and you’ll get a quote that actually matches what lands on your desk.
Furnace cycles and HIP runs are batched, and specialist polishing shops often work on their own schedule separate from the print queue. Planning the whole chain at the quoting stage is what keeps these downstream steps from silently doubling your lead time.
| RFQ element | Why it matters | What to request |
|---|---|---|
| Target Ra | Prevents mismatched expectations on texture | Numeric value plus measurement method |
| Internal access | Some methods can’t reach cavities | Drawing callouts for restricted zones |
| Thermal sequence | Sets mechanical properties, not just looks | Written cycle parameters |
| Witness coupons | Confirms properties without destructive testing | Same-batch sample part |
A capable supplier makes their process auditable, not just described. Before committing, ask for ISO certification documentation, evidence of in-house machining and heat treatment (versus outsourced), and surface metrology reports rather than a verbal promise of “smooth finish.”
A typical chain for a metal structural bracket at a capable prototype manufacturer might run: stress relief immediately after the build, HIP to consolidate internal porosity, support removal, CNC finish machining on critical faces, bead blasting for uniform texture, and laser polishing on any surface needing near-mirror Ra. Each step gets documented separately.
What to request in writing:
Most finishing guides treat surface texture and structural integrity as the same conversation. They aren’t. A part can have a beautiful bead-blasted finish and still fail a fatigue test because nobody consolidated the internal porosity with HIP. That confusion costs more money than any single finishing process, because it usually surfaces after tooling or assembly, not before.
The overrated piece of conventional advice is picking a finish based on appearance alone. Ra numbers get requested, but almost nobody asks how that number was measured or whether it applies to the whole part or just the surface someone photographed. The underrated move is treating internal features as a design constraint from day one. If a channel can’t be reached by AFF or a laser polishing head, no amount of post-print negotiation fixes that.
What actually works is sequencing the conversation correctly: define the mechanical requirement first, then choose the thermal and structural steps, and only then layer in cosmetic finishing. Do it backward and you’ll spend twice on rework. An approach of running these steps in-house doesn’t just save shipping between vendors. It also means one team is accountable for the whole chain instead of multiple vendors pointing fingers at each other when a part doesn’t meet spec.
— Nas
Some manufacturing providers run printing, machining, heat treatment, and finishing under one process chain instead of routing your parts through separate vendors for each step. That means one quote, one quality record, and one point of contact for a bracket that needs HIP, CNC finish machining, and bead blasting in sequence.
For an accurate first quote, include your 3D file, target material, desired finish and Ra if known, quantity, and any functional requirements like load, sealing, or fatigue life. Skipping the functional requirements is the single biggest cause of quote revisions.
Start your request through the 3D printing service page and flag any internal features or thermal requirements up front so the finishing chain gets scoped correctly the first time.
Start with mechanical smoothing (sanding, tumbling, or bead blasting) to remove layer lines, then apply chemical smoothing for polymers or thermal treatment for metals if structural properties matter. Coatings like paint, powder coat, or plating come last, after the surface is properly prepped.
Yes, China has a large domestic supply chain for FDM filaments including PLA, ABS, PETG, and engineering-grade materials like nylon and polycarbonate blends. Most manufacturing partners, including WJ Prototypes, source or stock these materials directly for production runs.
There’s no single best finish. The right choice depends on the part’s function: bead blasting suits cosmetic SLS/MJF parts, vapor smoothing suits FDM parts needing sealed surfaces, and HIP plus laser polishing suits fatigue-critical metal parts that also need low Ra.
Vapor smoothing closes surface porosity on FDM polymer parts by melting and reflowing the outer layer, which improves both watertightness and appearance. For metal parts facing pressure or fluid contact, HIP addresses internal porosity, while a coating or plating layer handles surface-level sealing against corrosion.
SERVICES
RESOURCES