


- Room 1807, Unit 9, Building 2, Shangxing Commercial Street, Shangde Road, Shangxing Community, Xinqiao Subdistrict, Bao'an District, Shenzhen City, China
CONTACT US

WhatsApp

Contact Us
Our team is on stand by, waiting toassist you.
Videos
A large collection of educational videos and tutorials.
About Us
Learn about our company, leadership, and mission totransform manufacturing.
Privacy Policy
Applies to all personal information collected through and/or processed in connection.

Aerospace & UAV
WJ Prototypes is your 3D manufacturing partner from prototype to large scale production.
Consumer Electronics
New Product Introduction Solutions for Consumer Electronics.

Robotics & Automation
Need some assistance bringing your robotic device or parts from the sketch-board to reality?
Medical Devices
The medical industry needs high quality, dependable and safe parts and products.
Automotive
New Product Introduction Solutions for Automotive
Industrial Machinery
The main purpose of industrial prototyping is to take the product from drawings into the real world.

Most engineers agree that skipping thorough requirements gathering is the single biggest cause of costly prototype revisions. Starting with clear parameters and the right data sets every step of the design and testing process up for success. This guide walks you through the essential prototyping stages, from mapping out requirements to final refinements, so you can avoid common pitfalls and create a reliable working model the first time.
| Key Insight | Explanation |
|---|---|
| 1. Define requirements early | Clearly define and document design requirements to reduce miscommunication during prototyping. |
| 2. Select materials wisely | Choose prototyping materials based on functionality, cost, and compatibility for optimal results. |
| 3. Refine CAD models iteratively | Use CAD software to continuously improve designs, ensuring all components meet specifications. |
| 4. Test prototypes thoroughly | Implement a structured testing protocol to evaluate functionality under real-world conditions. |
| 5. Implement feedback efficiently | Categorise and address feedback on prototypes to make informed updates and finalise the design. |
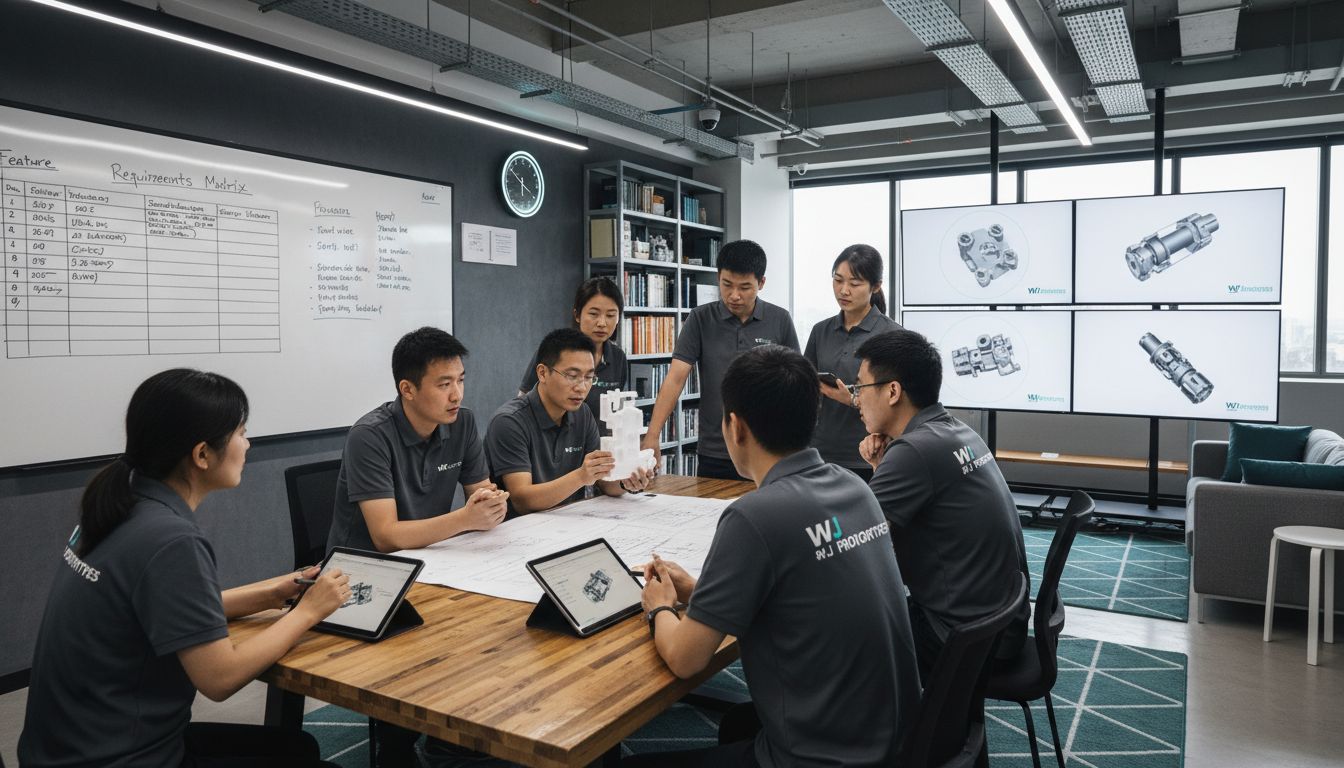
Defining precise requirements and systematically gathering design data forms the critical foundation for successful prototyping. According to Wikipedia, requirements analysis is a vital process that determines the needs and conditions for creating a new product while considering potentially conflicting stakeholder expectations.
To effectively gather design requirements, you will want to employ multiple techniques from comprehensive requirements elicitation strategies. Wikipedia highlights several powerful methods including interviews, questionnaires, user observation, workshops, brainstorming, use cases, role playing, and prototyping. Start by mapping out all potential stakeholders who might have insights into your design requirements including engineers, potential users, product managers, and manufacturing specialists.
Pro tip: Create a detailed requirements matrix that categorises each requirement by priority, feasibility, and potential implementation complexity. This approach helps you systematically track and evaluate design parameters while preventing critical details from slipping through the cracks. By meticulously documenting every requirement upfront, you significantly reduce potential rework and miscommunication during later prototyping stages.
Once you have comprehensively gathered and validated your design requirements, you are prepared to move forward into the initial design conceptualisation phase.
Selecting the right materials and technologies is a pivotal moment in your prototyping journey that can make or break your final product design. According to Spark Innovations, choosing appropriate materials is crucial as it significantly influences the prototype's functionality, production cost, and overall development speed.
Your material selection process should be driven by several key considerations. Evaluate the specific purpose of your prototype and the properties you require. Will you need flexibility? Strength? Heat resistance? Different prototyping technologies offer unique advantages some materials work better with 3D printing while others excel in CNC machining. For instance, 3D printed plastics enable rapid production and quick design iterations, whereas metal CNC machining provides superior performance but typically involves longer manufacturing timelines.
Pro tip: Create a comprehensive comparison matrix that ranks potential materials against your specific project requirements. Consider factors like material cost, mechanical properties, surface finish, and compatibility with your chosen manufacturing process. This systematic approach will help you make an informed decision that balances technical performance with economic feasibility.
Once you've selected your ideal materials and verified their compatibility with your chosen prototyping technology, you'll be ready to progress to the detailed design and initial fabrication stages.
Creating and refining computer aided design (CAD) models represents a crucial stage in transforming your initial concept into a precise digital blueprint. According to Biodesign Guide, prototyping is an iterative process involving continuous design, building, testing, analysis, and refinement, which makes your CAD modelling stage absolutely fundamental to successful product development.
Begin by establishing a comprehensive digital representation of your design using professional CAD software. Focus initially on capturing core geometric dimensions and functional requirements, understanding that your first iteration will likely undergo multiple refinements. Pay close attention to tolerances, material interfaces, and potential manufacturing constraints. As you develop your model, consider how different design elements will interact mechanically and structurally. Start with basic geometric primitives and progressively add complexity, ensuring each component aligns precisely with your original design requirements.
Pro tip: Implement a version control system for your CAD files to track design iterations systematically. This approach allows you to revert to previous configurations if a new modification proves unsuccessful and provides a clear historical record of your design evolution. By maintaining meticulous documentation and embracing an iterative mindset, you transform your CAD model from a preliminary concept into a robust, manufacture ready blueprint.
With your refined CAD model complete, you are now prepared to proceed towards generating initial physical prototypes and conducting comprehensive design verification tests.
With your detailed design now ready, it is time to transform your digital blueprint into a physical prototype through carefully selected manufacturing techniques. According to Mold Stud, identifying precise material and design constraints is essential for successful prototyping, requiring careful consideration of mechanical properties like tensile strength, thermal resistance, and potential stress conditions.
Begin by calibrating your chosen prototyping equipment to match the exact specifications of your CAD model. Whether you are using 3D printing, CNC machining, or injection moulding, ensure your machine settings align perfectly with your design parameters. Pay meticulous attention to material selection, understanding that each manufacturing method introduces unique variables that can impact your prototype's final performance. Monitor the production process closely, watching for any potential deviations from your original design specifications and being prepared to make real time adjustments.
Pro tip: Leverage simulation software to model potential stress and strain scenarios before final production. This proactive approach allows you to predict potential structural weaknesses and make preemptive modifications, saving time and resources by identifying potential issues before physical manufacturing begins. By combining digital simulation with precision manufacturing techniques, you significantly reduce the risk of prototype failure.
Once your prototype is complete, you will be ready to move forward with comprehensive testing and validation to assess its functional performance and alignment with your original design requirements.
Evaluating and testing your prototype represents a critical phase in transforming your design from a theoretical concept to a functional reality. According to the Smithsonian Exhibits Guide, prototyping is an iterative process that allows designers to test ideas comprehensively before investing in final production, ultimately saving time and resources by identifying potential improvements early.
Initiate your testing protocol by establishing a comprehensive evaluation framework that examines multiple performance dimensions. This includes assessing mechanical functionality, dimensional accuracy, material properties, and structural integrity. Conduct systematic tests that simulate real world operating conditions, applying stress loads, thermal variations, and potential environmental challenges that your prototype might encounter. Pay close attention to how each component interacts, noting any unexpected behaviours or potential failure points that emerge during rigorous examination.
Pro tip: Develop a detailed testing matrix that categorises potential failure modes and assigns specific quantitative metrics for each performance parameter. By creating a structured approach to prototype evaluation, you transform subjective observations into objective, measurable insights. International Journal of Engineering Science and Technology emphasises that initial user evaluation provides critical feedback for refining prototypes before final implementation.
Once you have comprehensively tested and analysed your prototype, you will be prepared to make informed design refinements and progress towards final product development.
Transitioning from prototype testing to final design refinement requires a strategic and methodical approach to incorporating comprehensive feedback. The finalisation stage represents your opportunity to transform initial design concepts into a robust, production ready component that meets all functional and performance requirements.
Begin by meticulously reviewing and categorising all feedback collected during the testing phase. Prioritise critical modifications that directly impact the prototype's core functionality, structural integrity, and performance metrics. Analyse each piece of feedback systematically determining whether suggested changes align with your original design objectives. Update your CAD model to reflect these refinements ensuring that each modification is precisely documented and can be traced back to specific testing insights or stakeholder recommendations.
Pro tip: Establish a version control system that tracks each design iteration comprehensively. Create a detailed changelog that captures the rationale behind every modification enabling clear communication with your team and maintaining a transparent development history. This approach not only facilitates collaborative decision making but also provides a valuable reference for future design iterations and potential product improvements.
With your prototype now refined and validated, you are prepared to transition towards final manufacturing preparation and initial production planning.
![]()
Prototyping parts from China starts with clearly defined design requirements, including CAD files, material specifications, tolerances, and functional expectations. Choosing the right prototyping method—such as CNC machining, 3D printing, sheet metal fabrication, or vacuum casting—depends on the part’s complexity, accuracy needs, and end-use testing requirements. Chinese prototyping manufacturers offer fast quoting and engineering feedback, helping professionals optimize designs early to reduce cost and avoid manufacturing issues before production begins.
Once the prototype method and materials are finalized, production moves quickly thanks to China’s advanced manufacturing infrastructure and streamlined supply chains. Rigorous quality checks, dimensional inspections, and optional surface finishing ensure prototypes meet exact specifications. With reliable logistics and global shipping options, professionals can receive high-precision prototypes in a short timeframe, enabling faster design validation, iteration, and a smoother transition from prototyping to full-scale manufacturing.
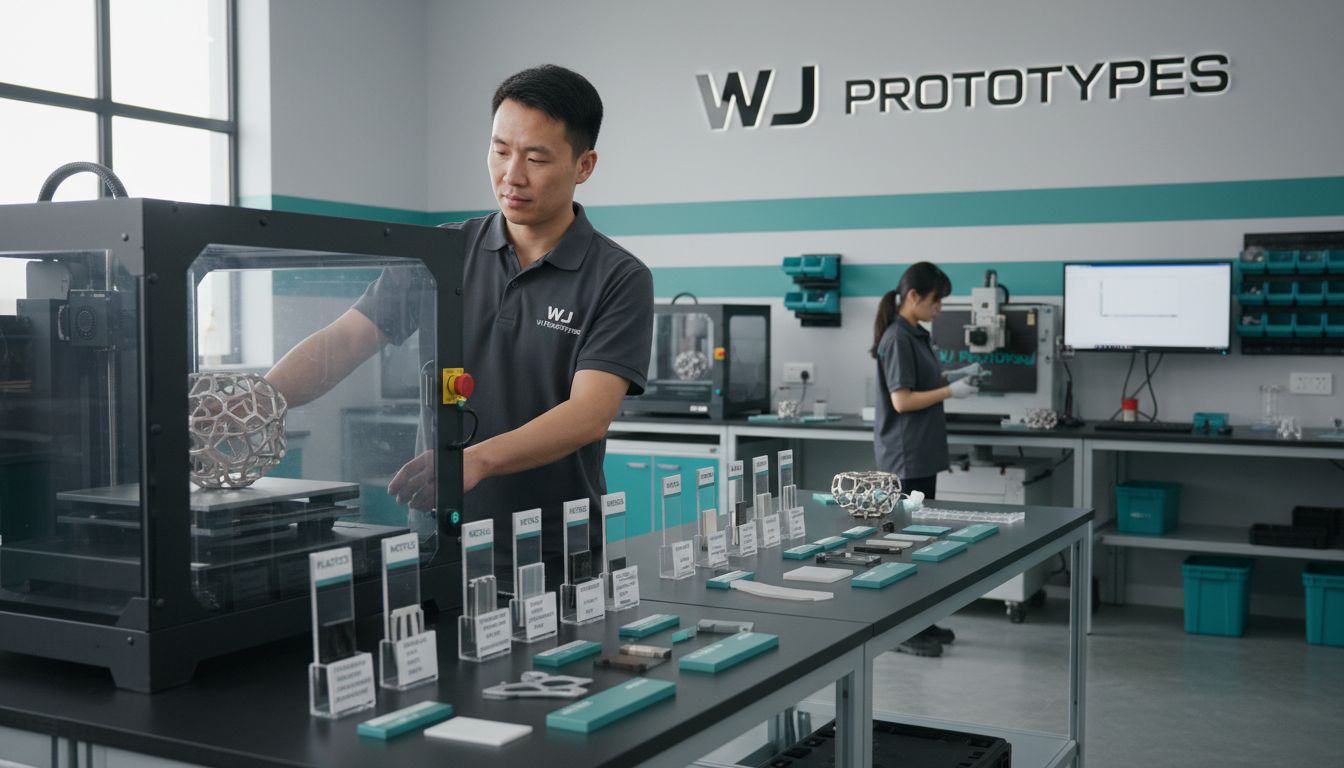
Prototyping demands precise requirement analysis, material selection, and meticulous design refinement, just as the guide "How to Prototype Parts: Step-by-Step Guide for Professionals" outlines. If you find challenges in transforming detailed CAD models into functional, high-quality prototypes or struggle to identify suitable manufacturing technologies, WJ Prototypes offers comprehensive solutions tailored to your needs. Our expertise in advanced additive manufacturing techniques like SLA, SLS, MJF, DMLS combined with traditional methods such as CNC machining and injection moulding ensures your parts meet exacting standards with swift turnaround times.
Partnering with WJ Prototypes means:
Take the next step towards perfecting your product by visiting WJ Prototypes. Explore how our rapid prototyping and low-volume manufacturing services can help you reduce costly iterations and bring your design from concept to market faster. Don’t delay your innovation journey — get a quote today and turn your prototype into a success story.
Defining requirements involves identifying the needs of various stakeholders and gathering design data. Conduct interviews, workshops, and user observations to map out priorities and document key aspects, ensuring you establish a detailed requirements matrix.
Selecting materials and technology requires evaluating the specific needs of your prototype, such as flexibility and strength. List the properties you require and create a comparison matrix to rank materials against your project requirements for informed decision-making.
While creating CAD models, prioritise capturing core geometric dimensions and consider potential manufacturing constraints. Begin with basic shapes and progressively add complexity, ensuring every element aligns with your design requirements and specifications.
To ensure quality, establish a comprehensive evaluation framework that assesses mechanical functionality and structural integrity under simulated real-world conditions. Develop a testing matrix to categorise potential failure modes and assign quantitative metrics for objective analysis.
Begin by categorising and prioritising feedback collected during testing, focusing on critical modifications that impact functionality. Update your CAD model accordingly and maintain a version control system to document each change clearly and facilitate future iterations.
Rapid Prototyping Guide | 5 Important Steps To Prototype Design & Manufacturing
Additive Manufacturing Workflow for Prototyping Success
Role of Prototyping in Product Development: Complete Guide
7 Essential Rapid Prototyping Best Practices for Teams
SERVICES
RESOURCES


