




- Room 1807, Unit 9, Building 2, Shangxing Commercial Street, Shangde Road, Shangxing Community, Xinqiao Subdistrict, Bao'an District, Shenzhen City, China
CONTACT US

WhatsApp


Contact Us
Our team is on stand by, waiting toassist you.

Videos
A large collection of educational videos and tutorials.

About Us
Learn about our company, leadership, and mission totransform manufacturing.

Privacy Policy
Applies to all personal information collected through and/or processed in connection.


Aerospace & UAV
WJ Prototypes is your 3D manufacturing partner from prototype to large scale production.

Consumer Electronics
New Product Introduction Solutions for Consumer Electronics.

Robotics & Automation
Need some assistance bringing your robotic device or parts from the sketch-board to reality?

Medical Devices
The medical industry needs high quality, dependable and safe parts and products.

Automotive
New Product Introduction Solutions for Automotive

Industrial Machinery
The main purpose of industrial prototyping is to take the product from drawings into the real world.
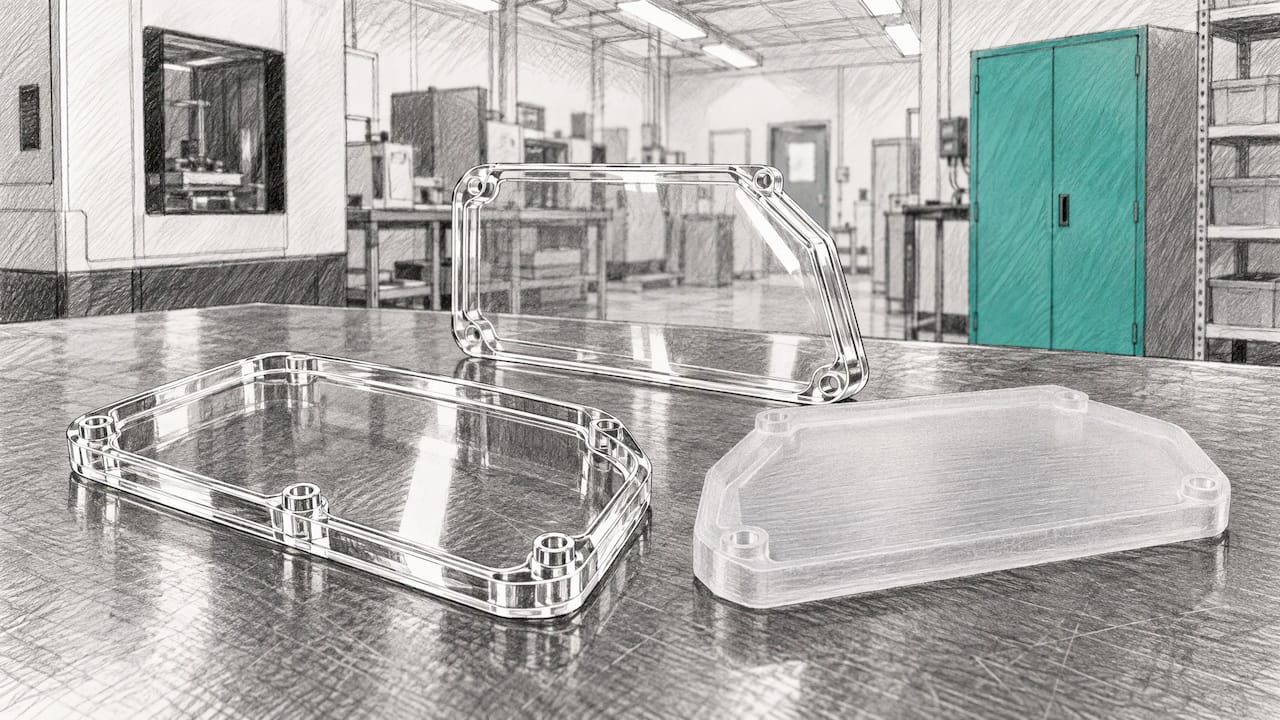

Clear SLA parts are printed in a transparent photopolymer resin, then sanded, polished and sealed until light passes through them. Good results come from three decisions made before the build: choosing a clear resin, designing walls and openings to the resin’s limits, and specifying the finishing sequence in your quote request. Skip any one and you get a part that is cloudy, striped with layer lines or yellow within weeks. This guide gives engineers, designers and buyers the numbers and the routine, so a clear part arrives looking like the one in your CAD render. If you want clear SLA parts made to your drawing, our SLA 3D printing service takes the file through an online quote, with no minimum order quantity.
SLA stands for stereolithography. A laser cures liquid photopolymer resin layer by layer, which gives smooth surfaces and fine detail. If you need a refresher on the process itself, our explanation of SLA 3D printing covers it from the beginning.
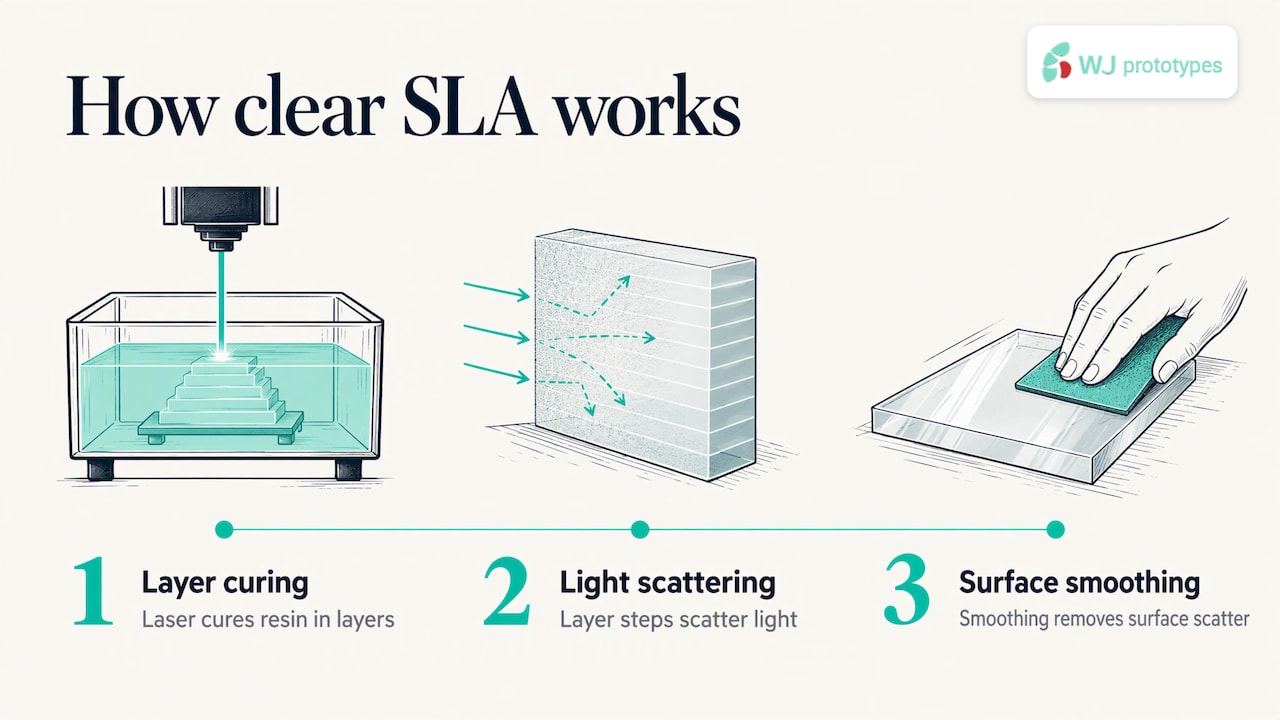
Clear resin is the same process with a resin formulated to pass light. Straight off the printer, the part is not glass-clear. Each layer leaves a microscopic step, and those steps scatter light, so a raw part looks frosted. The work of making a clear part is removing that scatter: smoothing the surface until it behaves like a single optical face rather than hundreds of tiny ridges.
Printer hardware matters as well. Newer SLA machines with a flexible resin tank reduce the peel forces that act on each layer as it separates from the tank, and that gentler separation gives clearer parts with a smoother finish. For a buyer this is one more reason the equipment behind a quote matters as much as the material name on it.
Transparent does not mean invisible. The current generation of clear resin transmits about 85% of visible light at 2 mm thickness when polished. The technical data sheet also reports 59% at 10 mm, measured to ASTM D1003-21. Those two figures tell you most of what you need to design with:
| Wall thickness | Polished light transmission | What it means in practice |
|---|---|---|
| 2 mm | about 85% | Looks transparent; good for covers, windows and light pipes |
| 10 mm | about 59% | Visibly dimmer; internal features are still visible but tinted |
The same data sheet gives CIELAB b* values of 7.52 at 2 mm and 5.98 at 10 mm. A positive b* means a slight yellow lean, which is normal for photopolymer resin and is the reason a clear part looks faintly warm next to acrylic or glass. If a product must read as colorless, tell us when you request the quote so the material and finish are chosen with that in mind.
Two practical conclusions follow. First, keep optical walls as thin as the structure allows. Second, if you need to see a component inside a thick housing, put the viewing window on a thin section rather than making the whole body clear and thick.
Three things cause most complaints:
Clear resin has its own limits for thin features. The published design rules for the current clear resin are these:
| Feature | Minimum |
|---|---|
| Wall thickness (supported and unsupported) | 1.0 mm |
| Hole diameter | 0.5 mm |
| Drain or escape hole for hollow or fluidic cavities | 0.75 mm |
| Mating clearance between parts | 0.4 mm |
| XY tolerance on features up to 30 mm | ±0.15% or ±0.02 mm |
All of these come from the resin’s material guide. A few notes on using them well.
Put drain holes where you can find them. A hollow clear part traps uncured resin unless liquid can leave. For channels and cavities, the 0.75 mm minimum is the floor; larger is easier to clean. Trapped resin inside a clear part shows as a yellow or cloudy pocket you cannot polish.
Plan optical faces as flat or gently curved. Flat and near-flat surfaces polish well. Sharp internal corners and deep blind channels are hard to reach with sandpaper or polish, so a window that must be perfectly clear belongs on an accessible face.
Mind the support marks. Supports leave contact points. Ask for the optical face to be oriented so supports land on a non-critical surface. This is a build-orientation decision, and it is better made at quote stage than after the first part comes back with scars in the middle of a lens.
Design for mating, not just looks. A 0.4 mm clearance between sliding or snap-fitting clear pieces keeps assemblies from binding after finishing removes a little material.
For a wider look at how resin choice affects stiffness, detail and cost, see our SLA materials guide for engineers.
The routine that produces clear, lasting results is consistent across the industry: sand, polish, seal.
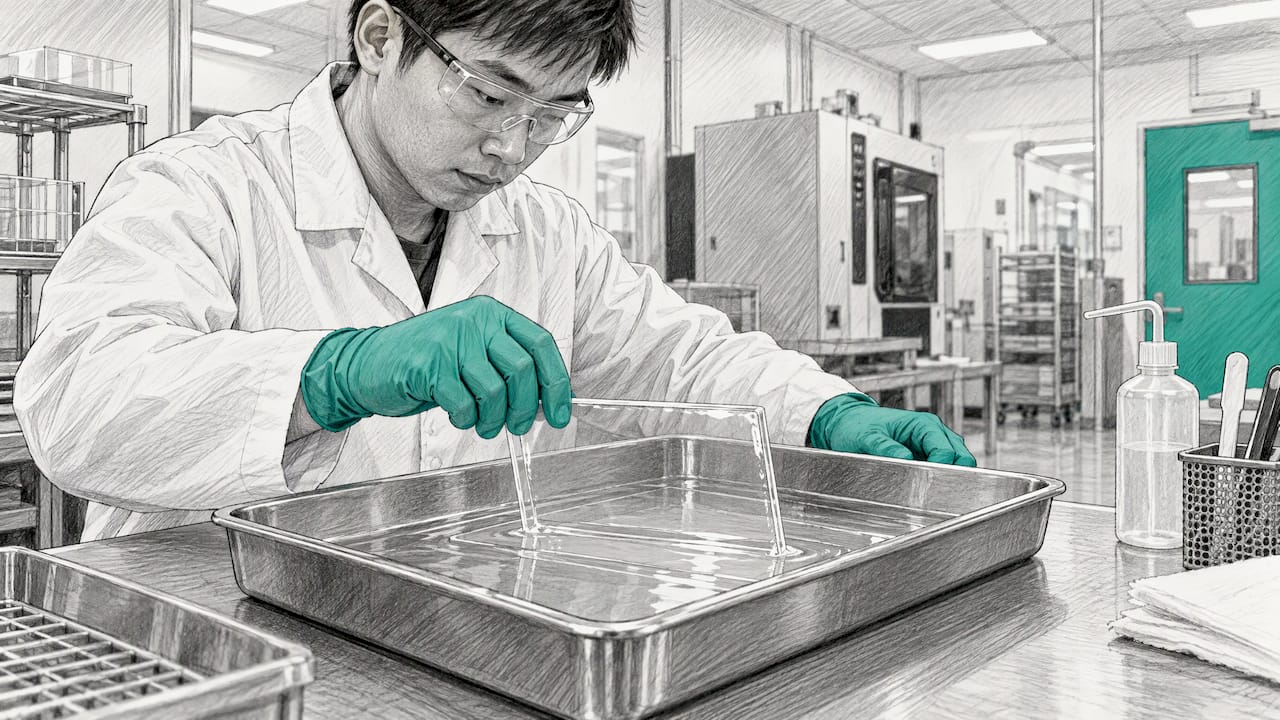
For flat or nearly flat optical surfaces, resin dipping produces some of the smoothest results. You apply clear resin with a syringe or by dipping, post-cure it, then repeat on the other side. The coating fills the microscopic steps and yields very smooth surfaces with sharp reflections. It suits lenses and windows, not complex geometry, because the resin pools in corners.
If your part needs color, tint it after printing. A common approach is to mix tint into clear coat and spray it on, so the part keeps its transparency while taking on the color. Specify the tint and finish level in your request, since a tinted transparent housing and a clear light pipe are finished differently.
Large clear assemblies are often printed in sections and joined. There are three common bonding methods, and each fits a different part:
| Method | Best for | Strength | Speed |
|---|---|---|---|
| Plastic-compatible epoxy | Large parts | Medium impact strength | Slower cure |
| Cyanoacrylate glue | Small and medium parts | Low impact strength | Quick-drying |
| Liquid resin with a 405 nm UV light pen | Small parts | Low impact strength | Cures on demand |
That comparison comes from the post-processing FAQ. For a see-through joint, the key is keeping the bond line thin, smooth and out of the optical path. Where you can, put the seam on a rim or flange rather than across a window. If a joint has to cross a viewing area, resin cured with UV gives the least visible line because it is the same material as the part. Better still, design the part so it needs no joint at all.
The resin’s documented uses map well onto what engineering teams build:
The material guide lists these applications, and a separate transparent resin is described as combining a neutral appearance with fast print speeds for transparent enclosures, lighting prototypes and molds.
Medical teams have further options. Biocompatible clear resins exist for long-term skin contact, breathing gas pathways and short-term tissue contact, and the contact categories and durations are defined by the resin’s own classification. Confirm the classification and your regulatory pathway with your quality or regulatory team before you specify a part for patient contact.
If transparency is the requirement, SLA is the process to start with. Opaque functional parts that need to snap, flex or take heat are better compared across processes: our guides on SLA versus FDM and SLA versus SLS walk through the trade-offs, and the advantages of SLA for engineers explain why detail and surface quality are its strengths.
A clear part is easy to under-specify. A request that says only “clear SLA” can mean a matte frosted housing or a polished lens. Include:
This gives a project manager what is needed to confirm the specification before production, which is where the price is set.
We offer SLA 3D printing alongside CNC machining, vacuum casting, injection molding and other processes, with a wide range of materials and finishes and ISO certification. There is no minimum order quantity, so one clear housing for a design review is as welcome as a small run. You upload your files to the SLA service page for an instant online quote, and a dedicated project manager confirms the specification with you. Pricing is determined from your quote submission and the confirmed specification.
Our view: specify clarity like any other requirement
We treat transparency as an engineering requirement, not a cosmetic extra. When a team tells us a part must be clear, the questions that matter are the same ones you would ask of any dimension: how thick, where, how smooth and for how long. A 2 mm window and a 10 mm block are different parts, even in the same resin.
That is why we push for the specification to be confirmed before production. Our approach pairs instant online quoting with dedicated project managers, so the optical faces, finish and end use are settled in conversation rather than discovered on delivery.
Clear SLA is also a fast way to learn. A transparent prototype lets your team see internal fits, fluid paths and light behavior on the first part, and with no minimum order quantity you can iterate on a single piece before committing to molds or a larger run. When the design is proven, the same team can carry it into vacuum casting or injection molding.
Nas
Yes. SLA with a clear photopolymer resin is the standard route. The raw print is frosted, and sanding, polishing and a clear coat bring it to a see-through finish. A polished part transmits about 85% of visible light at 2 mm thickness.
Oxygen and UV exposure reduce clarity over time, and residual resin or leftover sanding scratches add haze. A clear coat over a properly polished surface is the usual protection. Keeping parts out of direct sunlight also helps.
The minimum is 1.0 mm, but for optical clarity thinner is better within the structural limit. Light transmission drops from about 85% at 2 mm to about 59% at 10 mm, so keep viewing sections as thin as the design allows.
Yes, with care. Epoxy suits large parts, cyanoacrylate suits small and medium ones, and UV-cured liquid resin gives the least visible line on small parts. Keep the seam on a rim or flange, away from the viewing area.
SLA stands for stereolithography. A laser cures liquid resin layer by layer into a solid part, which is why the process is known for smooth surfaces and fine detail.
SERVICES
RESOURCES