



- Room 1807, Unit 9, Building 2, Shangxing Commercial Street, Shangde Road, Shangxing Community, Xinqiao Subdistrict, Bao'an District, Shenzhen City, China
CONTACT US

WhatsApp


Contact Us
Our team is on stand by, waiting toassist you.

Videos
A large collection of educational videos and tutorials.

About Us
Learn about our company, leadership, and mission totransform manufacturing.

Privacy Policy
Applies to all personal information collected through and/or processed in connection.


Aerospace & UAV
WJ Prototypes is your 3D manufacturing partner from prototype to large scale production.

Consumer Electronics
New Product Introduction Solutions for Consumer Electronics.

Robotics & Automation
Need some assistance bringing your robotic device or parts from the sketch-board to reality?

Medical Devices
The medical industry needs high quality, dependable and safe parts and products.

Automotive
New Product Introduction Solutions for Automotive

Industrial Machinery
The main purpose of industrial prototyping is to take the product from drawings into the real world.
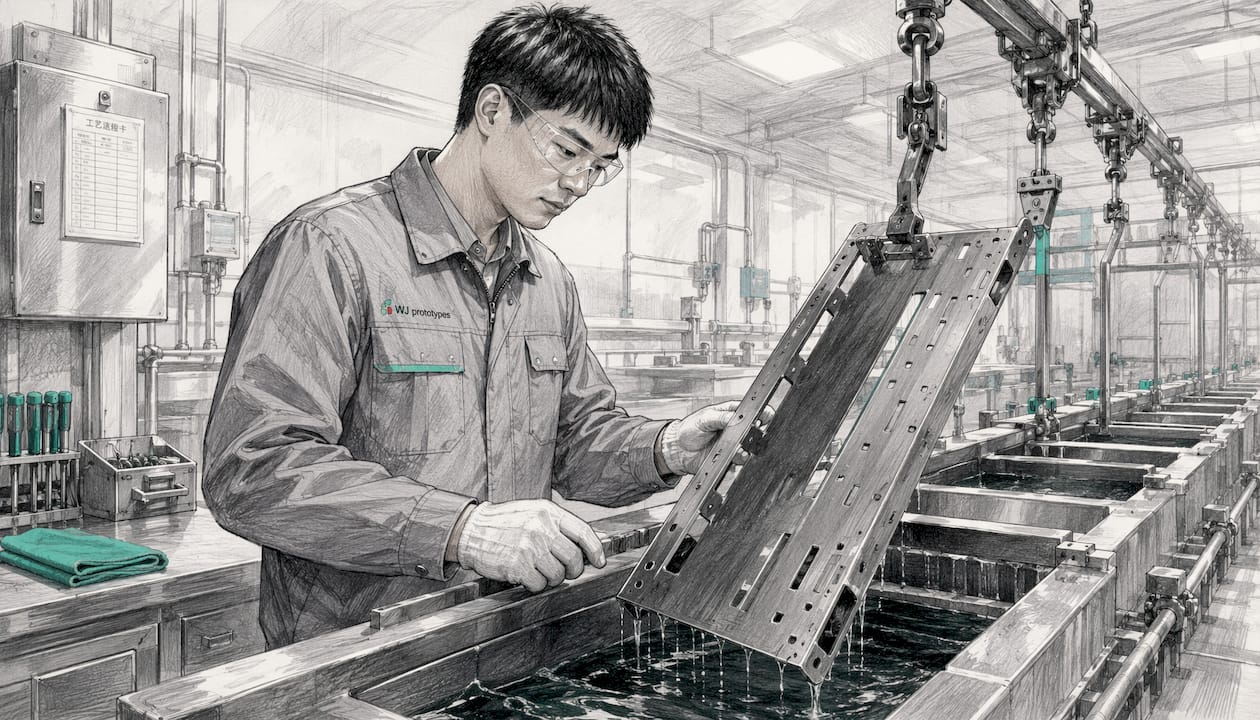
TL;DR:
- Type III anodize is the thickest and hardest standard finish for aluminum, designed for wear resistance. It requires precise specification of thickness, sealing, and process details to avoid production issues and ensure performance. Proper alloy selection, process control, and testing are essential for reliable application.
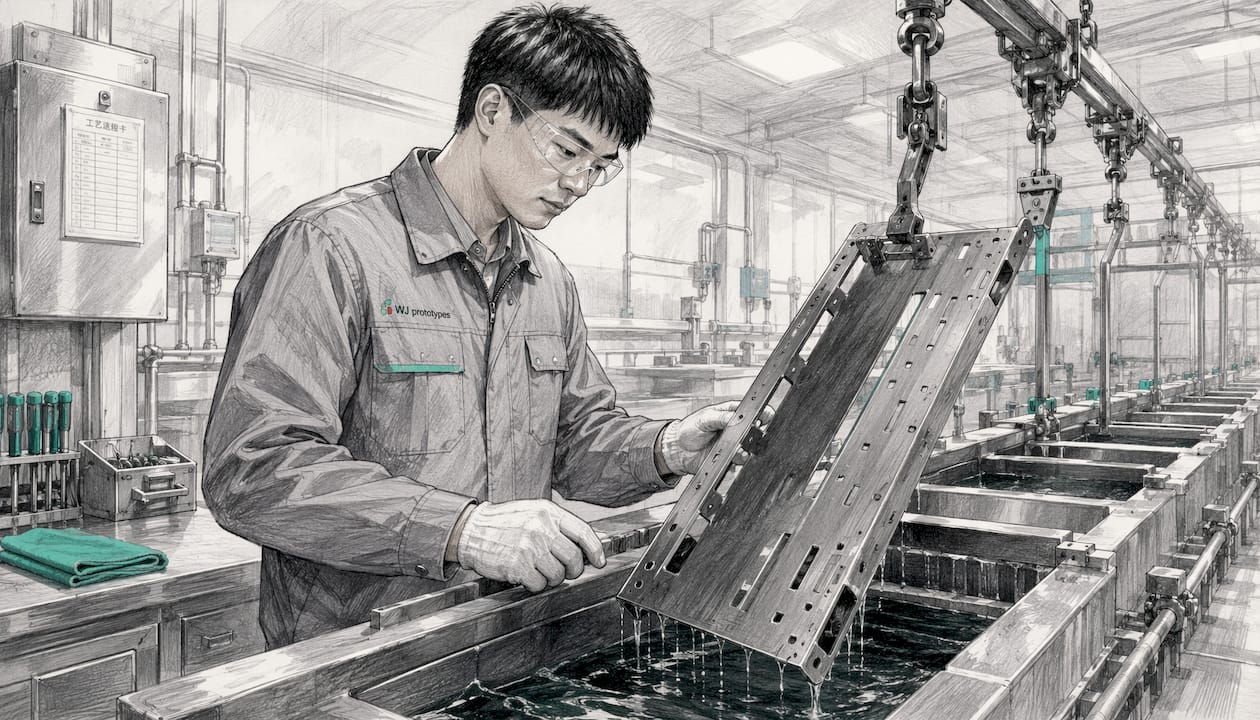
Type III anodize, also called hardcoat anodize, is the thickest and hardest of the standard anodic finishes for aluminum. It is the right choice when a part needs serious wear resistance, not just corrosion protection or a decorative surface. The governing specification is MIL-A-8625 Type III, with AMS 2469 as the aerospace companion spec. Here is what you need to know before putting it on a drawing:
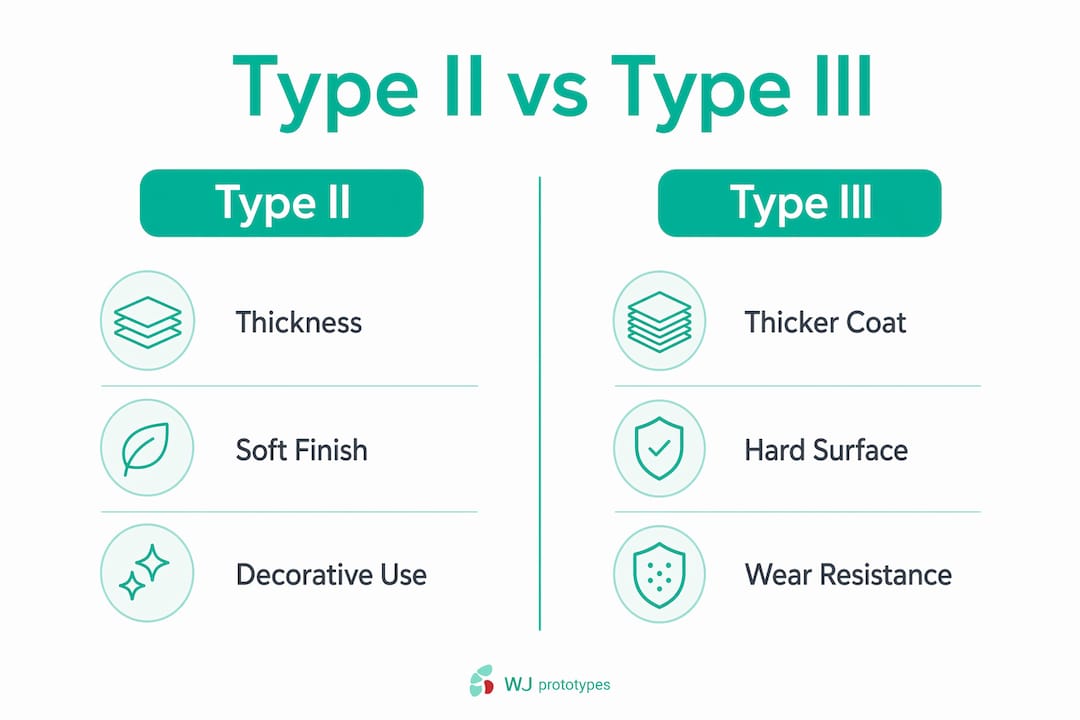
Thickness is an important specification to define, with typical values varying by alloy and anodizing conditions. Type III coatings typically run 25–100 µm (roughly 0.001"–0.003"), compared with Type II’s thinner, softer oxide. That extra thickness is what drives wear performance, but it also means every mating surface needs a tolerance adjustment before the part goes to the anodizer.
Hardness is where engineers often get tripped up. There is no universal “typical” hardness for Type III; the value depends on alloy, heat treatment, bath temperature, and current density. Some processes can produce relatively hard coatings on specific alloys and under controlled conditions, but hardness varies significantly with alloy and process. Specifying a hardness target without tying it to the actual alloy and process is asking for trouble.
Wear and abrasion performance is where hardcoat earns its reputation. In Taber abrasion comparisons, Type III can outperform electroless nickel and hard chrome depending on process conditions. Corrosion resistance is solid but secondary to wear as the design driver; Type II, properly sealed, often matches or exceeds Type III in salt spray hours because the sealing step is more straightforward.
Dielectric strength is a genuine bonus for electronic enclosures. Unsealed hardcoat provides meaningful electrical isolation, though the exact breakdown voltage depends on thickness and alloy. Thermal conductivity of the oxide is lower than bare aluminum, so factor that in for heat-sink surfaces.
| Property | Type II (Sulfuric) | Type III (Hardcoat) |
|---|---|---|
| Typical thickness | varies with thinner coatings typical of Type II | generally thicker coatings typical of Type III |
| Hardness range | varies within Type II typical ranges | hardness depends strongly on alloy and process; can be higher than Type II |
| Wear resistance | Moderate | High |
| Color options | Wide (dyes readily) | Limited (bronze/gray to black) |
| Dimensional impact | Low | Significant — plan for it |
| Cost | Lower | Higher |
Pro Tip: Never rely on a generic hardness spec from a data sheet. Require the supplier to run Vickers microhardness on a test coupon made from your actual alloy and heat-treat lot before approving production.
The process starts with aggressive surface prep: alkaline cleaning, degreasing, and an etch/deoxidize step to remove oxides and surface contamination. Any smut or prior coating left on the surface will produce a non-uniform or defective hardcoat, so this stage matters more than most engineers realize.

The anodizing step itself runs in a low-temperature sulfuric acid electrolyte, typically near freezing (around 32–50°F / 0–10°C), at higher current densities than Type II. The cold bath and elevated voltage are what force the oxide to grow dense and hard rather than soft and porous. Agitation and cooling are critical: a bath that warms even a few degrees during a long run can produce a softer, less uniform coating.
Key process parameters that control coating quality:
Proprietary variants like Martin Hard Coat and similar processes can push thickness and hardness beyond basic MIL guidance on certain alloys. If you need more than 0.003" on a 6061 part, confirm the supplier’s specific process capability before writing the spec.
Pro Tip: For critical parts, require the supplier to provide a process sheet and test coupon results with each production lot. A supplier who cannot produce those records is not a supplier you want for wear-critical components.
Alloy choice has a bigger effect on hardcoat quality than most designers expect. The oxide grows from the aluminum itself, so the alloy’s composition directly controls coating density, color, and hardness.
Good candidates:
Fair or poor candidates:
The practical rule: test the actual alloy and heat-treat combination you plan to use in production. A material selection decision made early in design can save a lot of rework when the anodizer reports inconsistent results on a 2024 billet.

Sealing closes the pores of the oxide layer after anodizing. The choice of seal, or the decision to leave the coating unsealed, has real consequences for both performance and appearance.
Common sealing methods and their tradeoffs:
Leaving the coating unsealed maximizes abrasion resistance but reduces corrosion protection. For parts that live in a dry, controlled environment and need maximum wear life, unsealed is the correct choice. For anything exposed to salt, humidity, or chemicals, seal it.
Dyeing is where hardcoat disappoints decorative designers. The dense, small-pore structure that makes Type III hard also blocks dye absorption. Light colors are essentially impossible; you can get black reliably, and some processes produce a dark bronze or olive-gray. If your part needs a specific color, Type II is the right finish. For a full breakdown of color options by anodize type, the anodized colors guide covers the tradeoffs in detail.
Pro Tip: Specify PTFE sealing explicitly on the drawing when low friction is a functional requirement. “Sealed per MIL-A-8625” alone does not guarantee PTFE; the anodizer will default to a hot seal unless you call it out. Reference AMS 2482 for PTFE-sealed hardcoat.
The primary specification is MIL-A-8625 Type III, which defines hardcoat anodize for aluminum. For aerospace procurement, AMS 2469 is the companion spec. PTFE-sealed hardcoat falls under AMS 2482. These are the references to put on drawings and purchase orders.
Acceptance tests to require:
MIL-A-8625 defines Class 1 (non-dyed) and Class 2 (dyed). For hardcoat, Class 1 is almost always the correct call. Class 2 is technically possible but limited to dark colors, as noted above.
Require suppliers to provide process records and test coupon data tied to the actual production lot. A certificate of conformance with no supporting data is not adequate for wear-critical or safety-relevant parts.
Dimensional growth is the first thing to calculate. Anodizing is a conversion process: approximately 50% of the coating thickness penetrates into the substrate and 50% builds on the surface. For specified coatings, designers must account for dimensional growth on all coated surfaces, as part of the coating thickness penetrates the substrate and part builds up on the surface. Account for this in mating-part clearances and threaded fits before the part goes to the anodizer.
Edge and corner geometry matters more than most designers expect. The oxide grows perpendicular to the surface, so sharp edges and thin sections build inadequate coating thickness and are prone to chipping. Specify a minimum external edge radius on all wearing surfaces to enable adequate coating thickness and avoid chipping. Avoid thin walls at locations where wear resistance is critical.
Additional DFM considerations:
Pro Tip: Add a mandatory finish callout block to your drawing title block and run a pre-production sample on the first article. Catching a tolerance stack-up or edge-chip issue on a sample part costs far less than a production reject.
Hardcoat earns its cost premium in applications where wear, abrasion, or dielectric isolation are the primary functional requirements. Common use cases:
Type III is the wrong finish for parts where a wide color palette matters, where fatigue loading is severe and unanalyzed, or where the cost premium is not justified by functional requirements. A decorative consumer product or a lightly loaded structural bracket is better served by Type II. For industrial machinery components that need both wear resistance and dimensional precision, hardcoat is often the only anodic finish that qualifies.
A complete hardcoat callout prevents mismatched expectations between your drawing and what the anodizer produces. Work through this checklist before releasing the drawing:
Sample drawing callout (adapt to your title block format):
FINISH: HARDCOAT ANODIZE PER MIL-A-8625 TYPE III, CLASS 1. THICKNESS: 0.001"–0.003" [25–75 µm]. PTFE SEALED PER AMS 2482. MASK SURFACES INDICATED. SUPPLIER TO PROVIDE PROCESS SHEET AND MICROHARDNESS TEST RESULTS WITH EACH LOT.
Confirm supplier process capability before specifying thicknesses above 0.003" or alloys outside the 6000/7000 series. Some proprietary processes handle extreme thicknesses; most standard shops do not.
Pro Tip: Require microhardness and Taber abrasion results on the first article inspection report. If the supplier cannot provide those numbers, you have no basis on which to accept the coating on a wear-critical part.
Type III hardcoat anodize is the correct finish when wear resistance, dielectric isolation, or both are functional requirements, but it demands precise specification and dimensional planning to avoid production failures.
| Point | Details |
|---|---|
| Thickness and growth | Coatings typically run 25–75 µm; the 50/50 rule means half penetrates the substrate, half builds on the surface. |
| Hardness varies by alloy | No universal hardness value exists; require Vickers testing on your actual alloy and process lot. |
| Sealing tradeoffs | Unsealed maximizes wear resistance; PTFE seal adds low friction; hot or nickel acetate seal improves corrosion protection. |
| Fatigue risk | Thick, brittle oxide can reduce fatigue life; run fatigue analysis or testing before approving hardcoat on cyclic-load parts. |
| Wjprototypes | Wjprototypes provides CNC machining, prototyping, and finishing coordination with ISO-backed QA for parts requiring Type III hardcoat. |
Engineers spend a lot of time debating which alloy or which sealing method to use, and those decisions matter. But the most common hardcoat failures in production come from a different place: an incomplete drawing callout that leaves the anodizer guessing.
A callout that says “hardcoat anodize” with no thickness, no class, no sealing requirement, and no acceptance test reference is essentially an invitation for the supplier to do whatever is easiest. You will get a coating. Whether it meets your functional requirements is a different question.
The second trap is treating hardcoat as a drop-in replacement for Type II when a part needs more wear resistance. The dimensional growth alone, if not accounted for in the tolerance stack, will cause interference fits and thread binding. The fatigue reduction, if not analyzed, can cause field failures on parts that looked fine in static testing.
The practical fix is straightforward: write the spec completely, require first-article test data, and include the finish in your DFMEA for any wear-critical system. A supplier who pushes back on providing process records is telling you something important about their process control.
Getting hardcoat right starts with a well-machined aluminum part. Wjprototypes offers CNC machining services for aluminum prototypes and low-volume production runs, with engineering support to help you apply correct pre-anodize tolerances, edge radii, and masking callouts before the part leaves the shop.

For engineers specifying Type III on production parts, Wjprototypes coordinates finishing with ISO-backed quality assurance, first-article inspection, and process documentation. Submit your CAD file with your MIL-A-8625 Type III spec, alloy, critical dimensions, and inspection requirements, and the team will confirm feasibility and provide a quote. Browse CNC machining materials to confirm alloy availability, then request a quote directly through the online system.
Standards and specifications to cite on drawings and purchase orders:
References to request from suppliers (not for drawing callout, but for process qualification):
The Anodizing Reference Guide from the Aluminum Anodizers Council covers dimensional growth calculations in detail and is worth bookmarking for tolerance work. For a practical comparison of Type II and Type III performance data, the Products Finishing technical library includes hardness and process guidance that goes deeper than most supplier data sheets.
Type II is a thinner (5–25 µm), softer coating suited for corrosion protection and decorative finishes with a wide color range. Type III (hardcoat) runs 25–100 µm, is significantly harder and more wear-resistant, but offers limited color options and requires tolerance adjustments for dimensional growth.
Black is reliably achievable; dark bronze and olive-gray are possible on some alloys and processes. Light colors are not practical because the dense, small-pore structure of hardcoat blocks dye absorption. If color is a priority, Type II is the correct finish.
MIL-A-8625 Type II covers conventional sulfuric acid anodize for corrosion protection and decorative use. Type III under the same spec defines hardcoat anodize, requiring a thicker, denser oxide produced at lower bath temperatures and higher current densities for wear resistance.
Not without analysis. The thick, brittle oxide layer can reduce fatigue life through microcracking under cyclic loads. Run fatigue analysis or component-level testing before approving hardcoat on any part subject to significant cyclic stress; consider localized masking to protect fatigue-critical surfaces.
Call out “MIL-A-8625 Type III, Class 1” with explicit thickness (min/max in µin or µm), sealing method (PTFE per AMS 2482, nickel acetate, or unsealed), masked surfaces, and a requirement for supplier process records and microhardness test results on each production lot.
SERVICES
RESOURCES