



- Room 1807, Unit 9, Building 2, Shangxing Commercial Street, Shangde Road, Shangxing Community, Xinqiao Subdistrict, Bao'an District, Shenzhen City, China
CONTACT US

WhatsApp


Contact Us
Our team is on stand by, waiting toassist you.

Videos
A large collection of educational videos and tutorials.

About Us
Learn about our company, leadership, and mission totransform manufacturing.

Privacy Policy
Applies to all personal information collected through and/or processed in connection.
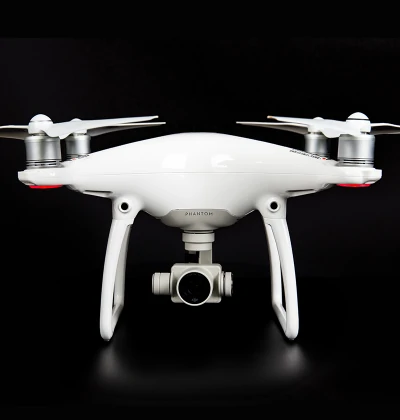

Aerospace & UAV
WJ Prototypes is your 3D manufacturing partner from prototype to large scale production.

Consumer Electronics
New Product Introduction Solutions for Consumer Electronics.

Robotics & Automation
Need some assistance bringing your robotic device or parts from the sketch-board to reality?

Medical Devices
The medical industry needs high quality, dependable and safe parts and products.

Automotive
New Product Introduction Solutions for Automotive

Industrial Machinery
The main purpose of industrial prototyping is to take the product from drawings into the real world.
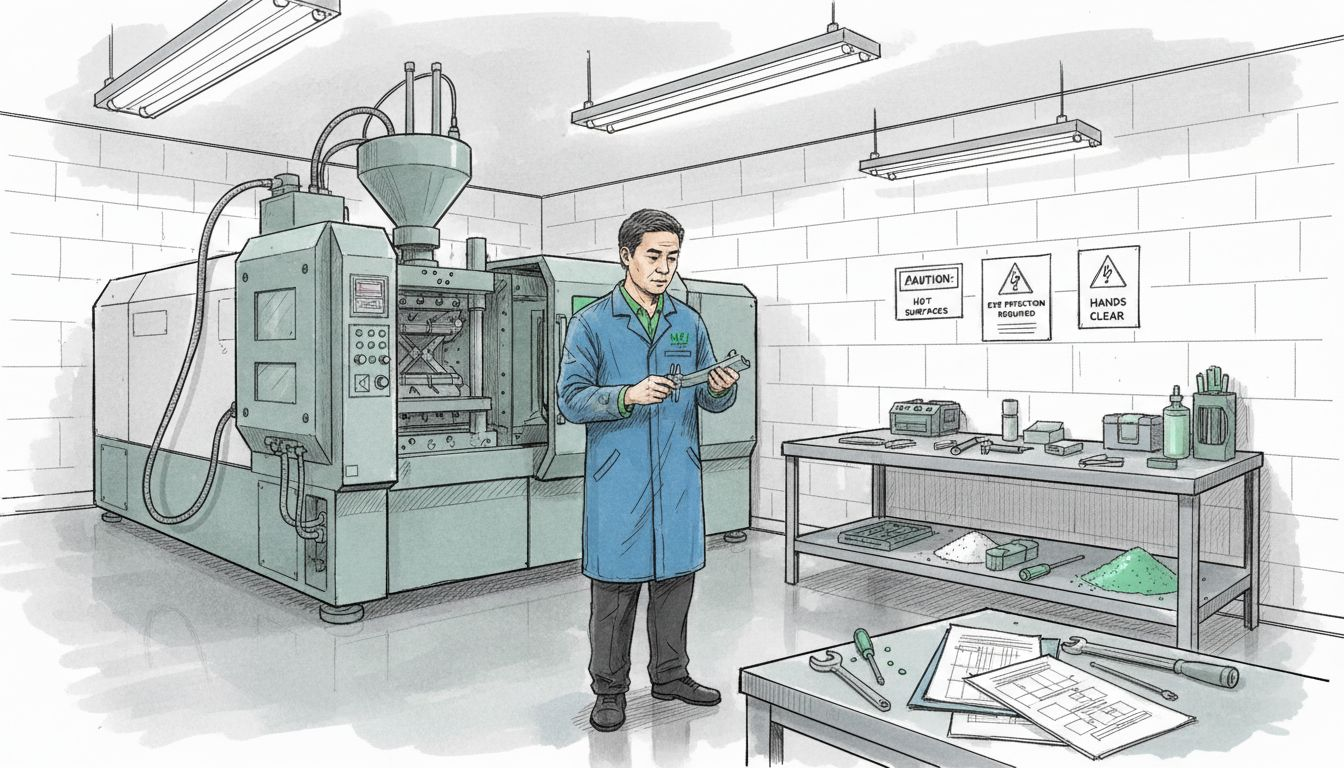
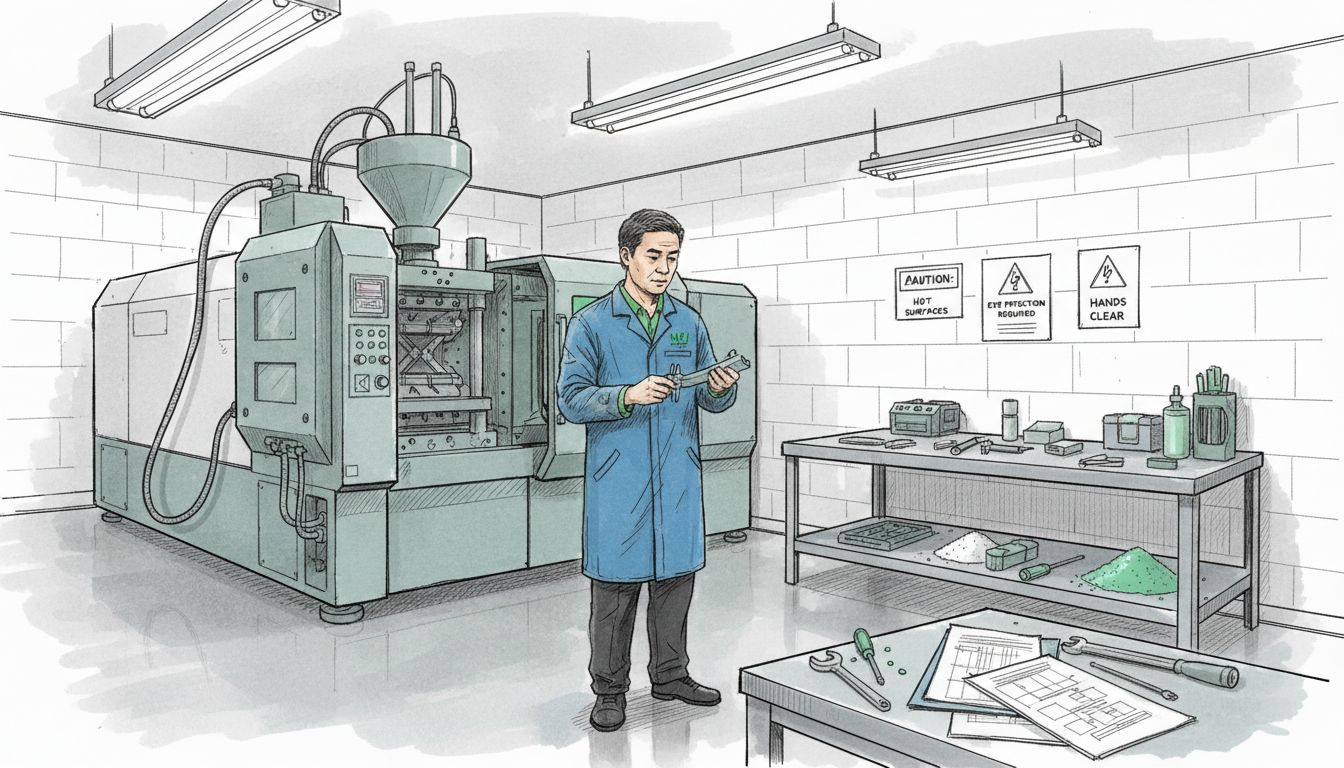
Navigating the fast-paced demands of aerospace and automotive innovation, mechanical engineers and product designers face intense pressure to deliver prototypes that balance speed, precision, and cost. The foundation for success lies in a well-structured, efficient injection molding workflow that enhances every stage from part design to final quality check. This guide shares actionable strategies for precision material selection, advanced mold design, and systematic production processes that drive both rapid prototyping and economical small-batch manufacturing.
| Key Point | Explanation |
|---|---|
| 1. Define precise specifications | Clear part specifications determine performance, cost, and manufacturability of prototypes. |
| 2. Select appropriate materials | Material properties directly influence part performance; evaluate strength, temperature resistance, and cost. |
| 3. Optimize mold design | A well-designed mold ensures high-quality, consistent parts while minimizing defects and production costs. |
| 4. Careful equipment setup | Methodical setup of injection molding machines enhances production consistency and reduces variability. |
| 5. Rigorous quality inspection | Comprehensive quality checks help maintain dimensional accuracy and structural integrity of the parts. |
Defining precise part specifications and selecting the right materials form the critical foundation for successful injection molding prototypes. This initial stage determines the entire trajectory of your manufacturing process, directly influencing part performance, cost, and manufacturability.
To effectively define part specifications, you'll need to consider several key parameters that impact your prototype's design and functionality. Start by mapping out your dimensional requirements with extreme precision. This means documenting exact measurements, tolerances, surface finish expectations, and geometric complexity. Manufacturers in aerospace and automotive sectors rely on meticulous specification to ensure components meet rigorous engineering standards.
Material selection represents another crucial decision in your prototyping workflow. Different polymers and composites offer unique properties that can significantly influence your part's performance. Advanced material selection techniques help engineers match material characteristics to specific application requirements. Consider these essential factors when evaluating potential materials:
Precision demands careful evaluation. Consult material datasheets, conduct preliminary testing, and potentially create small-scale prototypes to validate your material choices before full production.
Here's a quick reference for material selection factors in injection molding prototypes:
| Factor | Importance for Prototyping | Potential Impact |
|---|---|---|
| Mechanical Strength | Ensures durability and performance | Prevents premature part failure |
| Temperature Resistance | Supports high-heat applications | Avoids warping or melting |
| Chemical Compatibility | Enables specialized functionality | Resists corrosion or degradation |
| Electrical Conductivity | Useful for electronic parts | Enables circuit integration |
| Cost per Unit | Influences project affordability | Affects prototyping scalability |
| Processability | Simplifies manufacturing workflow | Reduces cycle times and defects |
Effective material selection can reduce prototype development time by up to 40% and minimize costly design iterations.
Pro tip: Always maintain a comprehensive material reference library and document your material selection rationale for future project insights.
Designing and optimizing the injection mold represents a critical phase that directly impacts your prototype's quality, production efficiency, and manufacturing costs. This step transforms your detailed part specifications into a precise tooling strategy that enables repeatable, high-performance manufacturing.

Begin by developing a comprehensive mold design that integrates advanced engineering principles. Topology optimization strategies can help engineers create molds with enhanced cooling performance and reduced overall mass. Focus on creating a mold geometry that ensures uniform material flow, minimizes potential defects, and supports consistent part reproduction.
The mold design process involves several critical considerations:
Utilize advanced simulation tools to predict and mitigate potential manufacturing challenges. These digital technologies allow you to virtually test mold performance before physical production, significantly reducing development time and material waste.
Effective mold design can reduce production cycle times by up to 30% and minimize potential part defects during manufacturing.
Pro tip: Invest time in creating detailed 3D mold models and conduct comprehensive simulations to identify potential design limitations early in the development process.
Setting up injection molding equipment requires precision and systematic attention to detail. This critical stage transforms your carefully designed mold into a functional manufacturing system capable of producing high-quality prototypes with consistent performance.
Machine setup processes demand a methodical approach to ensure optimal production conditions. Begin by preparing your injection molding machine with meticulous care, focusing on critical parameter configurations. Key setup steps include securing the mold in the clamping unit, loading appropriate materials, and calibrating machine settings to match your specific prototype requirements.
Your equipment configuration should address several essential parameters:
Careful attention to these parameters ensures repeatability and minimizes potential manufacturing defects. Modern injection molding machines offer advanced digital interfaces that allow for precise parameter management, enabling engineers to make real-time adjustments and monitor production performance.
Proper machine setup can reduce production variability by up to 25% and significantly improve overall part quality.
Pro tip: Document all machine settings and parameter configurations for each production run to create a reliable reference for future manufacturing processes.
Executing precision injection molding cycles requires a systematic approach that combines technical expertise with real-time monitoring and adaptive problem-solving. This critical phase transforms your meticulously planned design into tangible prototypes through carefully controlled manufacturing processes.
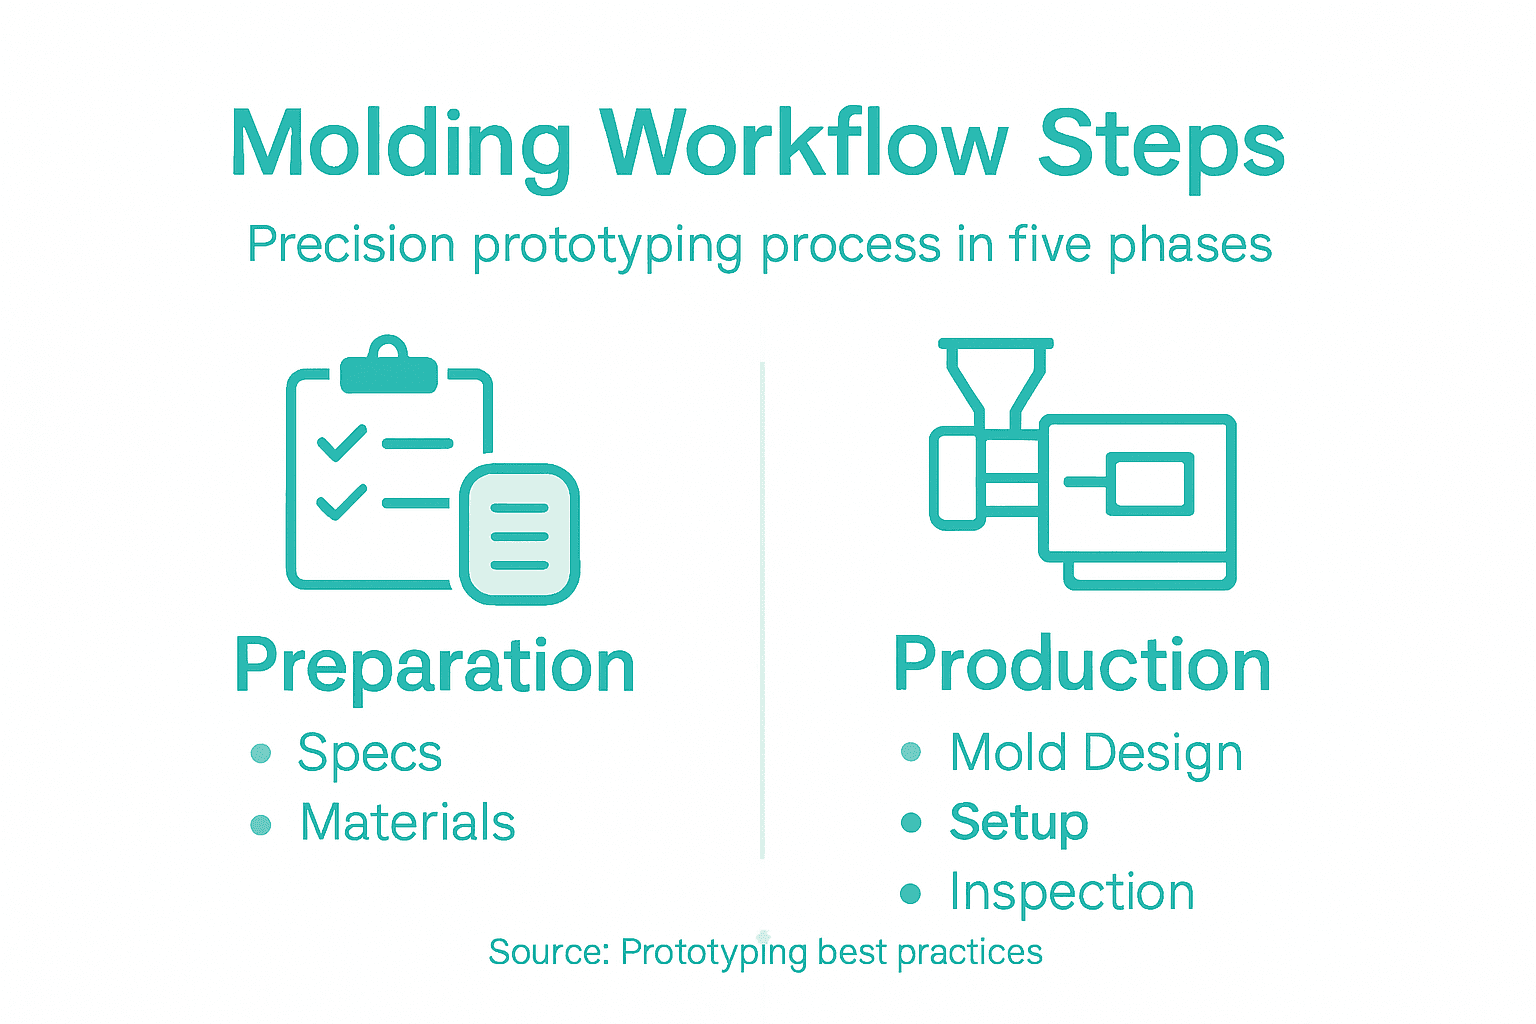
Injection molding cycle planning demands strategic coordination across multiple production stages. Begin by initiating the complete molding sequence, which encompasses several interconnected phases: mold closing, material injection, packing, cooling, and part ejection. Your goal is to optimize each stage for maximum efficiency and minimal waste.
Key monitoring strategies include:
Modern injection molding systems provide advanced digital monitoring interfaces that enable engineers to make instantaneous adjustments. These sophisticated tools allow you to identify potential issues before they impact product quality, ensuring a proactive approach to manufacturing.
Effective cycle monitoring can reduce production defects by up to 40% and significantly improve overall manufacturing consistency.
Pro tip: Implement a comprehensive digital logging system to record all production parameters, creating a valuable reference for continuous process improvement and troubleshooting.
Inspecting and verifying the quality of injection-molded parts represents the critical final checkpoint in your precision prototyping workflow. This meticulous evaluation ensures that each manufactured component meets the stringent dimensional, structural, and performance requirements defined in your original specifications.
Injection molding tips from aerospace engineering emphasize the importance of comprehensive quality verification protocols. Your inspection process should be systematic, utilizing both visual and quantitative assessment techniques to validate part integrity and conformance.
Key quality inspection strategies include:
Advanced inspection techniques leverage digital imaging, 3D scanning, and automated measurement systems to provide rapid, high-resolution assessments. These technologies enable engineers to detect even microscopic deviations that could compromise part performance, ensuring only components meeting exact specifications progress to subsequent production stages.
Here’s a summary of advanced inspection technologies used in final part quality verification:
| Technology | Key Benefit | Typical Application |
|---|---|---|
| Digital Imaging | Fast surface defect analysis | Cosmetic assessment |
| 3D Scanning | High-precision measurements | Dimensional verification |
| Automated Systems | Consistent evaluation | Mass production inspections |
| Statistical Sampling | Minimizes resource use | Defect tracking and control |
Rigorous quality control can reduce downstream manufacturing failures by up to 60% and significantly enhance overall product reliability.
Pro tip: Develop a standardized inspection checklist that documents every critical measurement and acceptance criterion to maintain consistent quality verification across production runs.
Mastering each stage of the injection molding workflow demands exacting control over part specifications, mold design, equipment setup, cycle execution, and rigorous quality inspection. If you want to overcome common challenges like achieving tight tolerances, optimizing material selection, or reducing costly production defects, partnering with industry experts can make all the difference. WJ Prototypes specializes in delivering precision prototyping solutions that align perfectly with your design goals and manufacturing demands.
Leverage our comprehensive suite of advanced manufacturing services, including injection molding supported by thorough quality assurance and rapid turnaround times. Our ISO certified facility and experienced engineers are committed to helping you avoid pitfalls such as incomplete mold optimization or inconsistent molding parameters. Discover how streamlined processes, smart material choices, and data-driven quality verification can accelerate your development cycle.
Ready to transform your injection molding prototype into a reliable, high-performance product quickly and cost-effectively Contact WJ Prototypes now to explore our full range of manufacturing capabilities and get your instant quote. Take the next step toward flawless prototyping success and see your vision materialize with confidence.
Defining part specifications involves documenting exact measurements, tolerances, surface finish expectations, and geometric complexity. Start by creating a detailed list of these parameters to ensure your prototype meets performance standards.
Select materials based on their mechanical strength, temperature resistance, chemical compatibility, and cost per unit. Evaluate potential materials by consulting datasheets and conducting preliminary tests to match properties with your application requirements.
When designing an injection mold, consider part geometry, gate and runner configurations, cooling channels, and ejection mechanisms. Create detailed 3D models and utilize simulation tools to identify design challenges early in the development process.
Set the machine parameters, including temperature control, injection pressure, and cycle time, based on your design requirements. Calibrate these settings precisely to minimize production variability and enhance overall part quality.
Utilize precision coordinate measuring machines for dimensional measurements, along with visual inspection techniques for surface finish analysis. Implement a standardized checklist to ensure thorough quality verification of every manufactured component.
Implement real-time monitoring strategies during the molding cycle to track temperature, injection pressure, and material flow consistency. These measures can help reduce production defects by up to 40% and improve manufacturing efficiency.
Injection Molding Step by Step for Precision Prototyping
What Is Injection Molding? A Complete Guide to Moulding Processes
Injection Molding Guide: Achieve Accurate Prototypes Fast
Trusted China Plastic Injection Moulding for OEM Success
SERVICES
RESOURCES