


- Room 1807, Unit 9, Building 2, Shangxing Commercial Street, Shangde Road, Shangxing Community, Xinqiao Subdistrict, Bao'an District, Shenzhen City, China
CONTACT US

WhatsApp

Contact Us
Our team is on stand by, waiting toassist you.
Videos
A large collection of educational videos and tutorials.
About Us
Learn about our company, leadership, and mission totransform manufacturing.
Privacy Policy
Applies to all personal information collected through and/or processed in connection.

Aerospace & UAV
WJ Prototypes is your 3D manufacturing partner from prototype to large scale production.
Consumer Electronics
New Product Introduction Solutions for Consumer Electronics.

Robotics & Automation
Need some assistance bringing your robotic device or parts from the sketch-board to reality?
Medical Devices
The medical industry needs high quality, dependable and safe parts and products.
Automotive
New Product Introduction Solutions for Automotive
Industrial Machinery
The main purpose of industrial prototyping is to take the product from drawings into the real world.

Selecting the right prototyping method can make or break your product development timeline and budget. Engineers in aerospace, automotive, and medical sectors face a critical decision: should you leverage industrial 3D printing for complex geometries or rely on CNC machining for precision and strength? The choice between these fabrication methods directly impacts prototype accuracy, material performance, production costs, and time to market. This guide walks you through a systematic evaluation framework to match your project requirements with the optimal prototyping approach, helping you avoid costly mistakes and accelerate validation cycles for low-volume production runs.
| Point | Details |
|---|---|
| Document critical specs | Document dimensional tolerances, surface finish requirements, mechanical property thresholds, functional testing criteria, budget constraints, and deadlines to guide method selection. |
| Tolerance and accuracy | CNC machining generally delivers tighter tolerances for precision parts, while 3D printing enables complex geometries with tradeoffs in accuracy. |
| Volume economics | For very small runs 3D printing reduces tooling and accelerates iterations, whereas CNC machining adds tooling and fixturing costs but provides consistent results across batches. |
| Evaluation framework | Use a step by step evaluation that weighs geometry, tolerances, surface finish, material properties, and production timelines to select the best fabrication method. |
Before committing to a fabrication method, you need to define the critical specifications that will determine success or failure for your prototype. Your project requirements act as filters that narrow down viable manufacturing approaches. Start by documenting dimensional tolerances, surface finish requirements, mechanical property thresholds, functional testing criteria, budget constraints, and delivery deadlines. These parameters create boundaries that guide your method selection.
Material compatibility and precision requirements differ greatly between 3D printing and CNC machining, affecting prototyping choices. Additive processes build parts layer by layer from polymers, resins, or metal powders, while subtractive machining cuts away material from solid blocks or billets. This fundamental difference impacts available materials, achievable tolerances, and mechanical properties. For aerospace components requiring tight tolerances of ±0.001 inches, CNC machining typically provides more reliable accuracy. Medical device prototypes needing biocompatible materials may find broader options through established CNC materials versus emerging 3D printing formulations.
Low-volume production context changes the economics dramatically. When you need 5 to 500 parts, setup costs and tooling investments weigh heavily in your decision. 3D printing eliminates tooling entirely, making it attractive for very small runs or frequent design iterations. CNC machining requires fixturing and programming but delivers consistent results across batches. Consider whether you anticipate design changes during validation. If you expect multiple revision cycles, the flexibility of choosing rapid prototyping methods without tooling penalties becomes valuable.
Key evaluation factors include:
Pro Tip: Document your critical specifications in a requirements matrix before evaluating methods. Early alignment on must-have versus nice-to-have features prevents scope creep and helps you make objective comparisons between fabrication approaches, reducing costly mid-project method changes.
A systematic comparison framework helps you match project characteristics to method strengths. The table below contrasts key performance dimensions to guide your initial screening.
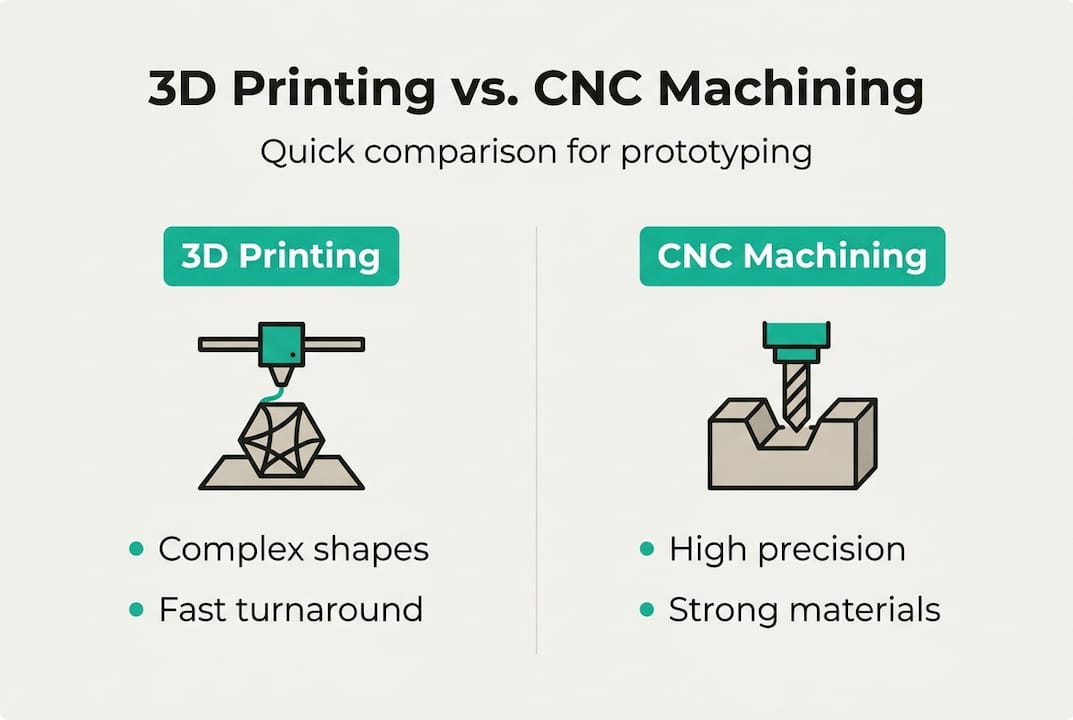
| Evaluation Criteria | 3D Printing | CNC Machining |
|---|---|---|
| Unit Cost (1-10 parts) | $50-500 per part depending on size/material | $100-1000+ per part including setup |
| Unit Cost (50-100 parts) | $40-400 per part with minimal economies of scale | $50-300 per part with setup amortization |
| Turnaround Time | 1-5 days for most parts including post-processing | 3-10 days including programming and finishing |
| Dimensional Accuracy | ±0.005-0.020 inches typical; varies by technology | ±0.001-0.005 inches achievable consistently |
| Material Variety | Limited to printable polymers, resins, select metals | Extensive metals, engineering plastics, composites |
| Typical Applications | Complex organic shapes, lattice structures, rapid iteration | Precision mechanical parts, metal prototypes, production-intent samples |
Follow this decision sequence to systematically evaluate your options:
Real-world scenarios illustrate these trade-offs. An automotive intake manifold prototype with complex internal flow paths benefits from 3D printing to validate aerodynamics quickly. Once the design is frozen, CNC machined versions from production aluminum verify thermal and pressure performance. A medical surgical instrument handle requiring ergonomic contours and biocompatible stainless steel favors CNC machining from the start. An aerospace bracket with topology-optimized weight reduction uses 3D printing for initial validation, then transitions to CNC for flight-qualified material testing.
Pro Tip: Consider hybrid workflows that leverage both methods strategically. Print complex cores or inserts, then machine critical mating surfaces to achieve tight tolerances. This approach combines geometric freedom with precision where it matters most, optimizing both cost and performance for precision prototyping services.
Even experienced engineers encounter pitfalls when choosing between fabrication methods. Recognizing these common mistakes helps you avoid project delays and budget overruns.
Frequent selection errors include:
Cost misconceptions create particularly troublesome issues. Engineers often compare quoted part prices without factoring in total project costs. A $200 3D printed part may seem expensive compared to a $150 machined version until you add $2000 in CNC setup fees for a five-part run. Conversely, a $50 printed prototype may require $100 in hand finishing to achieve acceptable surface quality, while the machined part comes ready to use. Always request itemized quotes that include setup, post-processing, and finishing to make valid comparisons.
Turnaround time errors stem from misunderstanding process bottlenecks. 3D printing build time depends on part volume and layer height, not complexity. A small intricate part may print in hours, while a large simple block takes days. CNC machining time correlates with material removal volume and tool path length. A complex pocket feature may add minimal cycle time if it is accessible, while a simple deep hole requiring specialized tooling extends production. Request realistic lead time estimates that account for queue times, material procurement, and finishing operations.
Misunderstandings about material properties and production costs are main reasons for prototyping inefficiencies. Selecting a method based on incomplete information about mechanical performance, surface requirements, or total project economics leads to rework cycles that consume more time and budget than the initial savings.
Improper method selection cascades into downstream problems. A prototype that does not accurately represent production material behavior generates misleading validation data. Test results from a printed part with 60% of production strength may suggest design changes that prove unnecessary once you manufacture in the final material. Conversely, over-investing in production-representative prototypes for early concept validation wastes resources on features that will change. Match your prototype fidelity to your validation stage, using prototyping in aerospace standards as a model for progressive refinement.
Troubleshooting tips include:
Defining clear success criteria before fabrication ensures your prototypes deliver the validation data you need. Effective verification confirms that parts meet design intent and provide reliable inputs for downstream decisions.
Key performance indicators for prototype success include dimensional accuracy within specified tolerance bands, material properties matching or exceeding minimum thresholds, surface finish suitable for functional testing or customer evaluation, assembly fit and clearance verification, and functional performance under simulated operating conditions. Establish these metrics during the requirements definition phase and communicate them clearly to your prototyping partner.
Verification methods differ based on fabrication approach and industry standards. The table below contrasts common validation techniques:
| Verification Method | CNC Machined Parts | 3D Printed Parts |
|---|---|---|
| Dimensional Inspection | CMM measurement to ±0.0005 inch accuracy | Optical scanning or CMM with ±0.002 inch typical accuracy |
| Surface Finish Analysis | Profilometer readings; Ra values 32-125 microinch achievable | Visual inspection; Ra values 200-800 microinch common before finishing |
| Material Testing | Tensile, compression, impact tests on production material | Coupon testing accounting for anisotropy and layer orientation |
| Fit and Assembly | Direct assembly verification with production-intent clearances | May require adjustment for shrinkage or dimensional variation |
| Functional Testing | Full performance validation under operating loads and environments | Proof of concept testing; may need production material for qualification |
Verification techniques such as dimensional inspection and functional testing differ depending on the prototype fabrication method and industry standards. Coordinate measurement machine inspection provides objective dimensional data but requires skilled programming and setup. For critical aerospace components, first article inspection protocols document every feature against engineering drawings. Medical device prototypes undergo biocompatibility screening and sterilization validation even at the prototype stage.
Implement this verification checklist systematically:
Alignment with final product requirements varies by development stage. Early concept prototypes may intentionally deviate from production specifications to enable rapid iteration. Mid-stage validation prototypes should closely match production materials and processes to generate reliable test data. Pre-production prototypes must meet all specifications to qualify designs for manufacturing release. Communicate clearly with your prototyping partner about which features are critical versus informational to focus verification efforts appropriately. Aerospace applications demand rigorous documentation and material traceability even for prototypes. Automotive testing may emphasize environmental durability and cycle life. Medical devices require biocompatibility and sterilization validation aligned with material selection in prototyping for regulated applications.
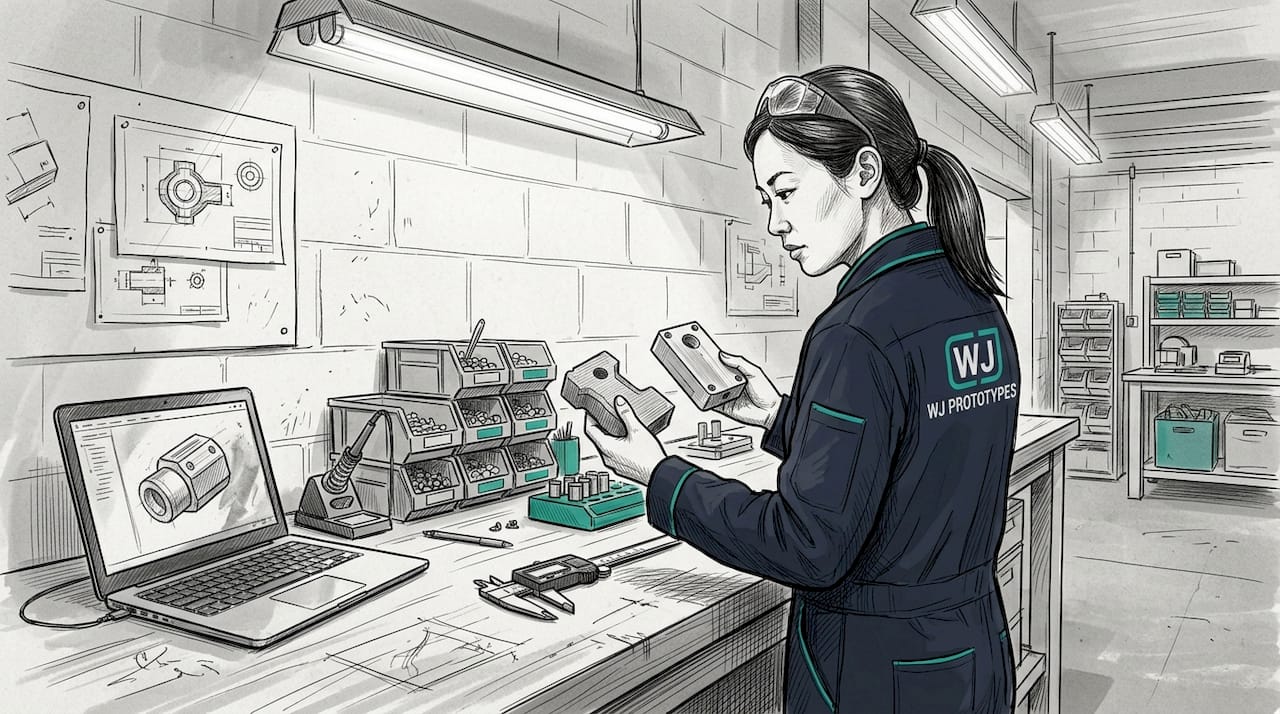
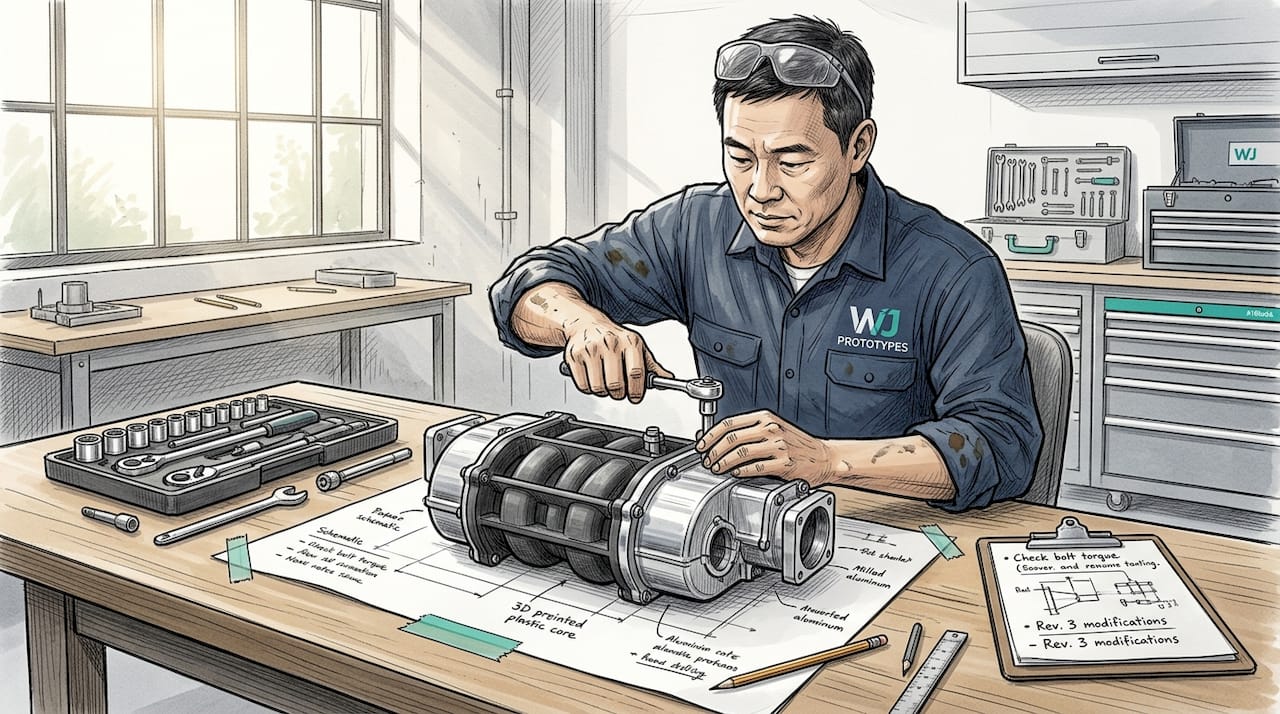
WJ Prototypes delivers both CNC machining and industrial 3D printing capabilities specifically tailored to the demanding requirements of aerospace, automotive, and medical product development. Our engineering team helps you navigate the selection process, matching your project specifications to the optimal fabrication method and materials. We maintain extensive inventories of certified materials suitable for rigorous industry standards, from aerospace-grade aluminum alloys and titanium to medical-grade stainless steel and biocompatible polymers. Whether you need five concept models for design review or 200 functional prototypes for validation testing, our processes scale efficiently to support low-volume production runs. Explore our comprehensive CNC machining materials selection and discover how CNC machining services in China deliver precision parts with competitive lead times. For projects requiring production-representative parts without tooling investment, our vacuum casting materials bridge the gap between prototyping and manufacturing. Request a quote today to discuss your specific requirements and receive expert guidance on optimizing your prototyping approach for cost-effectiveness, precision, and speed.
3D printing often delivers faster results for geometrically complex parts or very small quantities because it eliminates tooling and setup time, though post-processing for surface finishing can add days to the schedule. CNC machining generally provides quicker cycle times for simple geometries and repeat production runs once programming and fixturing are complete, making it more efficient for batches of 20 or more identical parts. For a single complex prototype, expect 2 to 4 days with 3D printing versus 5 to 7 days with CNC machining including setup. For 50 simple parts, CNC machining may complete in 3 to 5 days while 3D printing could take 7 to 10 days depending on build volume capacity.
CNC machined parts typically exhibit superior mechanical strength due to subtractive precision and material density, working from solid stock that retains the full properties of production materials like aluminum 7075 or titanium Ti-6Al-4V. 3D printed aerospace components may achieve adequate strength for validation testing but often require specific high-performance materials, controlled build orientation to manage anisotropic properties, and post-processing such as heat treatment or hot isostatic pressing to approach the mechanical performance of machined parts. For flight-critical structural components, CNC machining from certified aerospace materials remains the preferred approach for prototypes that must demonstrate production-representative strength and fatigue resistance.
Hybrid methods strategically leverage the geometric freedom of additive manufacturing with the precision and surface quality of subtractive processes, such as 3D printing a complex core geometry then CNC milling critical mating surfaces to achieve tight tolerances and excellent finish. This combined approach reduces overall costs by minimizing material waste and setup time while ensuring that functional interfaces meet exacting specifications. Combining both processes proves particularly valuable for low-volume production of complex assemblies, where you might print intricate internal features impossible to machine, then finish external surfaces and threaded holes with CNC operations to achieve production-quality results without expensive tooling investment.
Cost-Effectiveness of CNC Machining vs 3D Printing in Automotive Parts
What Is CNC Prototyping? Comprehensive Guide To CNC prototyping
How to Choose Prototyping Services for Precision Results
Advantages Of SLA 3D Printing - Why Choose WJ Prototypes, China
SERVICES
RESOURCES


