


- Room 1807, Unit 9, Building 2, Shangxing Commercial Street, Shangde Road, Shangxing Community, Xinqiao Subdistrict, Bao'an District, Shenzhen City, China
CONTACT US

WhatsApp

Aerospace & UAV
WJ Prototypes is your 3D manufacturing partner from prototype to large scale production.
Consumer Electronics
New Product Introduction Solutions for Consumer Electronics.

Robotics & Automation
Need some assistance bringing your robotic device or parts from the sketch-board to reality?
Medical Devices
The medical industry needs high quality, dependable and safe parts and products.
Automotive
New Product Introduction Solutions for Automotive
Industrial Machinery
The main purpose of industrial prototyping is to take the product from drawings into the real world.

TL;DR:
Finishing transforms raw prototypes into production-like parts by improving surface quality and accuracy.
Different finishing processes serve specific purposes, carefully selected based on material and stage.
Proper planning of finishing stages ensures prototypes meet performance, compliance, and stakeholder expectations.
Most product teams spend weeks perfecting a prototype geometry, then rush through finishing as if it's an afterthought. That decision quietly kills projects. A prototype that looks rough, fits poorly, or fails a basic tactile test rarely survives stakeholder review, no matter how sound the underlying engineering is. Finishing is what transforms functional prototypes into production-like parts, and skipping or shortchanging it introduces dimensional errors, failed compliance checks, and wasted iterations. If you manage product development in aerospace, automotive, or medical sectors, understanding finishing isn't optional. It's the difference between a prototype that moves the project forward and one that sends you back to square one.
| Point | Details |
|---|---|
| Finishing defines prototype quality | Secondary finishing operations turn rough prototypes into parts suitable for real testing and stakeholder review. |
| Process choice matters | Techniques like sanding, coating, and plating each have specific uses and dimensional impacts. |
| Stage dictates finish | Apply minimal finishing early but invest in high-fidelity finishes for validation and compliance phases. |
| Expert partners make the difference | Collaborate with professional services to ensure finishing meets industry and regulatory standards. |
Finishing refers to every secondary operation applied to a prototype after its initial fabrication. Whether the part came off an SLA printer, a CNC mill, or a vacuum casting setup, the raw output is rarely ready for real-world evaluation. Finishing bridges that gap.
The goals of finishing are practical and measurable:
This is not cosmetic work. A medical device prototype with a rough, unfinished surface cannot be used for usability studies or biocompatibility assessments. An automotive interior trim piece without proper paint and texture tells you nothing about how the final part will feel in a customer's hand.
Understanding the additive manufacturing workflow helps clarify where finishing fits. It comes after fabrication but before any meaningful testing or review. Think of it as the translation layer between "we built it" and "we can evaluate it."
"Finishing takes a prototype from functional to production-like by improving surface quality and usability." This distinction matters enormously when your prototype needs to pass a design review, a regulatory audit, or a user study.
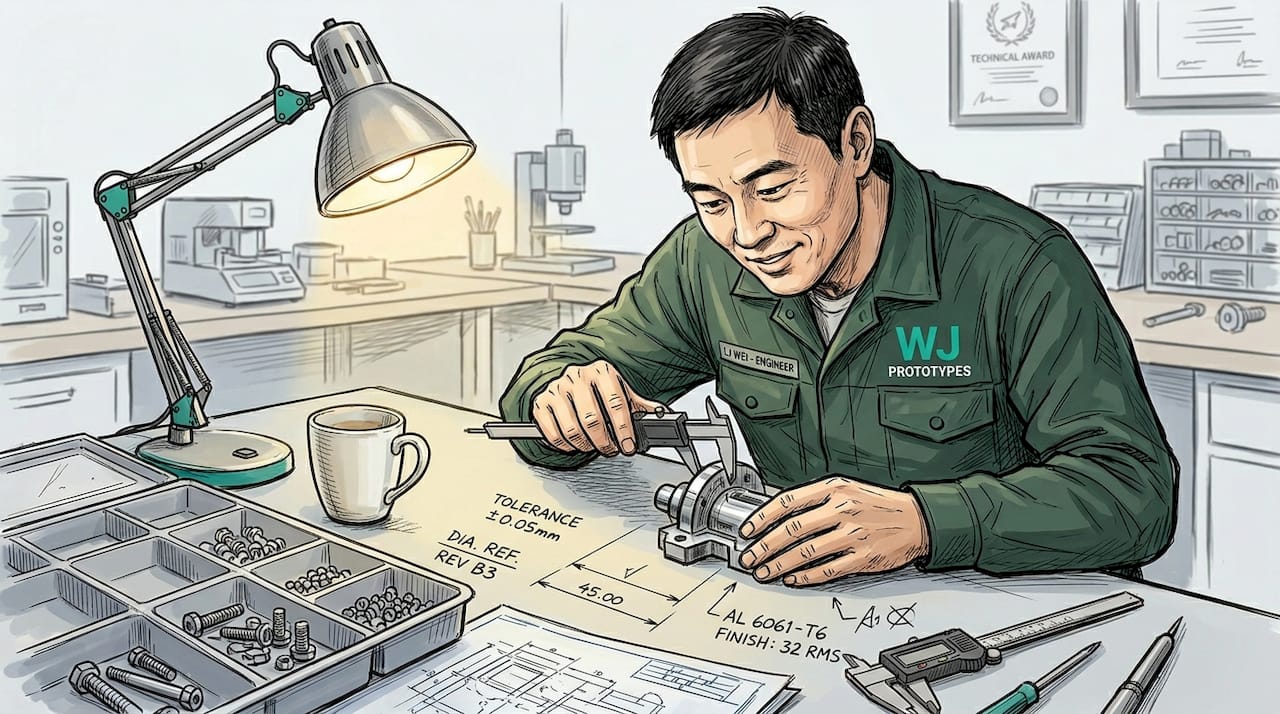
For engineers focused on precision engineering in prototyping, finishing is where theoretical tolerances meet physical reality. A part designed to ±0.05mm needs finishing steps that respect and preserve that precision, not compromise it. Skipping finishing doesn't save time. It just moves the rework downstream, where it costs far more.
With finishing defined, let's explore the primary methods used to transform raw prototypes into production-like samples. Each technique serves a specific purpose, and combining them strategically is what separates professional prototyping from amateur iteration.
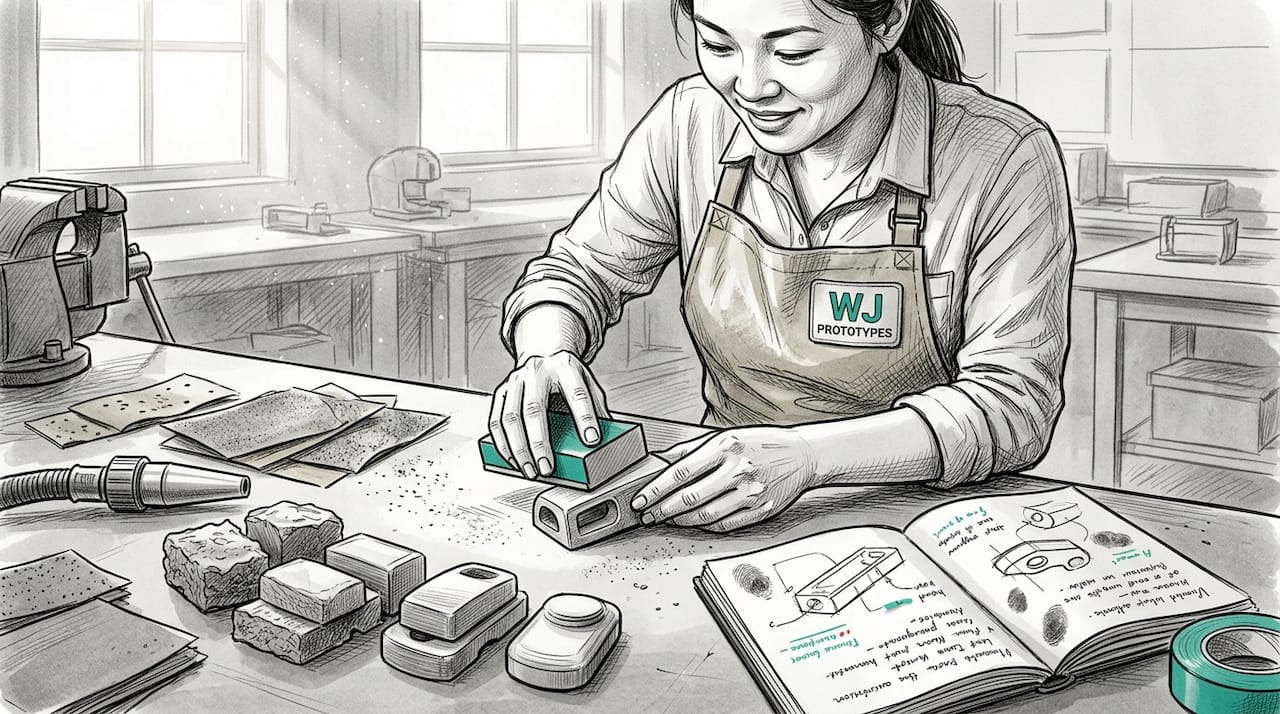
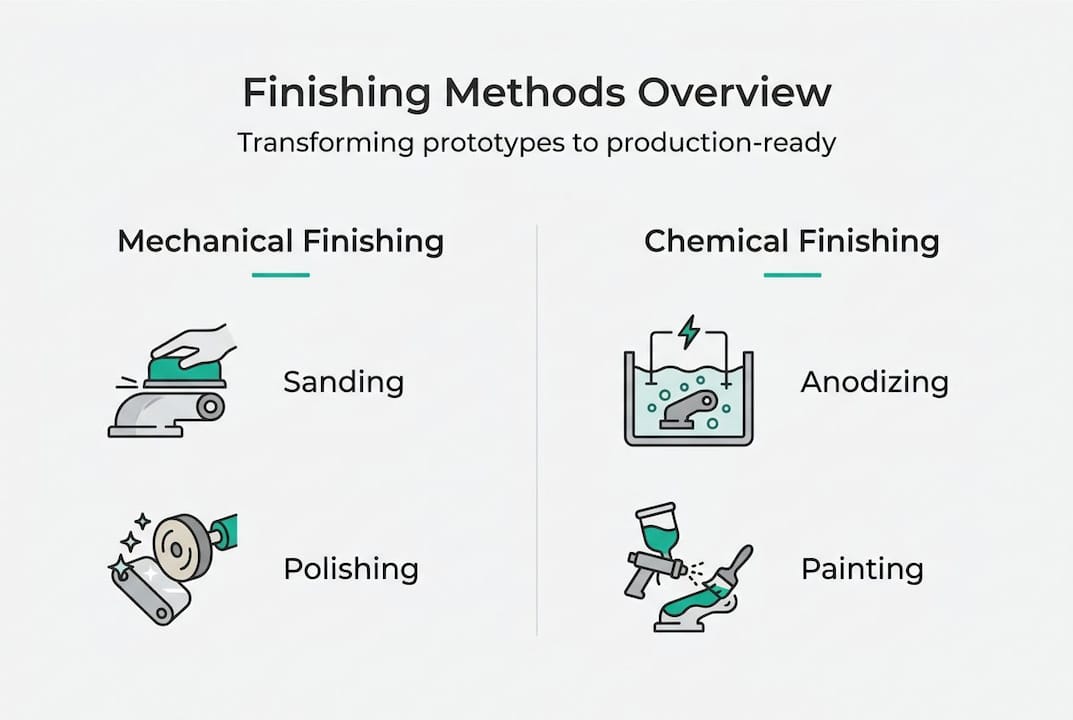
Mechanical finishing includes sanding, polishing, and bead blasting. Sanding removes layer lines from 3D-printed parts and levels machined surfaces. Polishing takes surface roughness (Ra) down to mirror-quality levels. Bead blasting uses fine abrasive media to create a uniform matte texture, which is particularly popular for aluminum and stainless steel prototypes.
Chemical and coating processes include priming, painting, anodizing, and electroplating. Priming prepares surfaces for paint adhesion. Painting adds color and a protective layer. Anodizing builds an oxide layer on aluminum parts, improving corrosion resistance and hardness. Electroplating deposits a thin metal layer for conductivity, durability, or aesthetics.
Here's a quick comparison of common finishing methods and their typical applications:
| Finishing method | Primary purpose | Common materials | Dimensional impact |
|---|---|---|---|
| Sanding | Surface smoothing | Plastics, metals | 0.1-0.2mm removal |
| Bead blasting | Uniform matte texture | Aluminum, steel | Minimal |
| Anodizing | Corrosion resistance | Aluminum | +0.01-0.02mm |
| Electroplating | Conductivity, hardness | Metals, some plastics | +0.01-0.05mm |
| Painting/priming | Color, protection | Most materials | +0.05-0.15mm |
| Polishing | Mirror finish | Metals, acrylic | 0.05-0.1mm removal |
Notice that every process either adds or removes material. This is critical for tolerance-sensitive assemblies. Combining sanding and coating is a best practice to achieve production-like finishes, but only when the dimensional budget accounts for each step.
Pro Tip: Always map out your finishing sequence before fabrication begins. If your part requires anodizing after machining, design your pre-finish dimensions to compensate for the 0.01-0.03mm layer buildup. Ignoring this at the design stage is one of the most common and costly mistakes in prototype development.
Choosing the right combination also depends on your material and end use. For guidance on matching finishing to fabrication method, reviewing a solid additive manufacturing guide alongside your prototyping service selection criteria will help you avoid mismatches that waste budget and time.
After understanding methods, it helps to know how finishing evolves across project stages. Not every prototype needs a showroom finish. Applying full production-grade finishing to a first-concept model wastes money and slows iteration. But under-finishing a pre-production sample leads to invalid test data and stakeholder confusion.
Here's how finishing requirements typically scale across the three major prototype stages:
| Prototype stage | Finishing level | Key priority | Typical methods |
|---|---|---|---|
| Concept | Minimal | Speed, form communication | Light sanding, basic spray |
| Functional | Moderate | Fit, assembly, usability | Controlled sanding, coatings |
| Pre-production | Full | Production equivalence | Full paint, plating, anodizing |
"Finishing should be iterated and tailored to the stage, from rough sanding at concept to full coatings before production." Treating every prototype stage with the same finishing intensity is a resource drain that adds no value.
For teams following structured prototyping process steps, building finishing criteria into each stage gate prevents late-stage surprises. In sectors like aerospace prototyping, where pre-production samples must meet strict surface and dimensional specs before tooling approval, this stage-aware approach is not just best practice. It's a requirement.
One often-missed nuance: finishing at the functional stage should simulate production conditions, not just look clean. If your production part will be anodized, your functional prototype should be anodized too, even if the color doesn't matter yet. The mechanical properties change, and those changes affect how the part behaves under load or during assembly.
Understanding when and how to finish a prototype leads naturally to why this step is so crucial, especially in demanding sectors. Finishing isn't just about making a part look good. It directly determines whether your prototype can do its job.
Here's what high-quality finishing enables:
In automotive development, for example, interior trim prototypes must match production surface texture and color before they go to any customer clinic or design freeze review. In medical device development, surface finish directly affects sterilization effectiveness and biocompatibility testing outcomes.
Pro Tip: Don't rely solely on simulation to validate your finishing choices. Run empirical tests on finished samples, especially for tactile properties, coating adhesion, and dimensional conformance. Simulations model ideal conditions. Real parts behave differently, and catching discrepancies at the prototype stage is far cheaper than discovering them during production validation.
Following prototyping best practices means treating finishing as a planned, budgeted, and documented activity, not a last-minute cleanup task. Teams that plan finishing from day one consistently produce prototypes that move faster through review cycles and generate fewer revision loops.
Here's the uncomfortable truth most prototyping guides won't tell you: finishing failures are rarely technical. They're organizational. Teams deprioritize finishing because it's not visible in a CAD file, it doesn't show up in a simulation, and it feels like execution rather than engineering. That mindset is exactly what causes projects to stall at the validation stage.
We've seen high-performing engineering teams produce geometrically perfect prototypes that failed stakeholder reviews because the surface finish communicated "unfinished experiment" instead of "production-ready solution." The engineering was right. The finishing wasn't. And the project lost momentum it never fully recovered.
The deeper issue is that simulation-only validation can't fully capture finish-related interactions. Real-world testing on finished parts reveals things that no FEA model predicts: coating delamination under thermal cycling, grip texture that feels wrong in a gloved hand, or an anodized surface that changes the part's electrical behavior in an assembly. These are finishing problems, and they only surface when you physically test a properly finished prototype.
The teams that consistently choose rapid prototyping partners with strong finishing capabilities outperform their peers not because they have better designs, but because their prototypes generate better data. Better data means fewer iterations, faster approvals, and more confident go-to-market decisions. Finishing is where prototype investment pays off. Treat it that way.
Finishing is integral to every successful prototype, and the right manufacturing partner makes all the difference in achieving production-quality results. At WJ Prototypes, finishing is built into the process, not bolted on at the end. Whether you need anodized aluminum components, painted ABS housings, or polished stainless steel assemblies, our team plans finishing from the first DFM review. Explore the full range of CNC machining materials available to support your next project, and see how our CNC machining services deliver the dimensional precision and surface quality your prototypes require. Contact us for expert guidance tailored to your industry's compliance and performance standards.
Explore competitive Prototyping Solution with expert support from WJ Prototypes.
Whether you're comparing suppliers or looking to optimize costs, our team can help you evaluate the best option for your project.
👉 Request A Quote now or email us at info@wjprototypes.com to get started.
Finishing in prototyping means applying processes like sanding, coating, or plating after initial fabrication to improve surface quality, dimensional accuracy, and usability. It's what takes a raw fabricated part and makes it suitable for real-world testing and evaluation.
Finishing is essential for meeting the surface quality, biocompatibility, and dimensional standards required in aerospace, automotive, and medical applications. Finishing impacts compliance and usability testing in ways that raw fabricated parts simply cannot satisfy.
Common finishing processes include sanding, polishing, bead blasting, painting, anodizing, and electroplating. Combining multiple finishing processes is standard practice for achieving the texture, durability, and dimensional accuracy that production-like prototypes require.
Finishing processes typically remove or add 0.1-0.3mm of material depending on the method, so planning for dimensional changes is critical for tolerance-sensitive assemblies. Always design pre-finish dimensions with the finishing allowance factored in from the start.
How to Prototype Parts | Step-by-Step Guide for Professionals
How to Choose Prototyping Services for Precision Results
Precision Engineering in Prototyping: Driving Breakthroughs
Industrial Prototyping Process Explained: Speed, Precision, Value
Prototypage rapide en production additive
Explore competitive Prototyping Solution with expert support from WJ Prototypes.
Whether you're comparing suppliers or looking to optimize costs, our team can help you evaluate the best option for your project.
👉 Request A Quote now or email us at info@wjprototypes.com to get started.
SERVICES
RESOURCES


