


- Room 1807, Unit 9, Building 2, Shangxing Commercial Street, Shangde Road, Shangxing Community, Xinqiao Subdistrict, Bao'an District, Shenzhen City, China
CONTACT US

WhatsApp

Contact Us
Our team is on stand by, waiting toassist you.
Videos
A large collection of educational videos and tutorials.
About Us
Learn about our company, leadership, and mission totransform manufacturing.
Privacy Policy
Applies to all personal information collected through and/or processed in connection.

Aerospace & UAV
WJ Prototypes is your 3D manufacturing partner from prototype to large scale production.
Consumer Electronics
New Product Introduction Solutions for Consumer Electronics.

Robotics & Automation
Need some assistance bringing your robotic device or parts from the sketch-board to reality?
Medical Devices
The medical industry needs high quality, dependable and safe parts and products.
Automotive
New Product Introduction Solutions for Automotive
Industrial Machinery
The main purpose of industrial prototyping is to take the product from drawings into the real world.

Choosing between prototype and production tooling is one of the most consequential decisions in your product development cycle, yet many buyers get it wrong. The assumption that jumping straight to production tooling saves time and budget is a costly misconception. Production tooling uses hardened steels for high-volume runs, longer lead times, and significantly higher upfront costs. For teams in aerospace, automotive, and medical, skipping prototype tooling can mean failed certifications, expensive redesigns, and delayed launches. This guide breaks down the real cost drivers, timelines, and decision frameworks you need to make the right call at every stage.
| Point | Details |
|---|---|
| Tooling impacts cost and risk | Choosing the wrong tooling path can lead to expensive fixes and project delays. |
| Prototype first for validation | Prototype tooling enables fast iteration and regulatory checks before large investments. |
| Production tooling for scale | Invest in production tooling only when specs are locked and high-volume runs are needed. |
| Know your timeline and needs | Lead times and certification requirements differ — align tooling strategy to your industry’s demands. |
Tooling is not just a manufacturing detail. It shapes part validation, regulatory compliance, time to market, and your total cost of ownership. Get it wrong early, and you pay for it at every stage downstream.
In regulated industries, the stakes are especially high. Prototype tooling validates design for manufacturability and compliance before you commit to expensive production molds. Skipping this step in aerospace or medical can mean failed audits, rejected submissions, or worse, field failures. The cost of a design change after production tooling is locked can be ten times higher than catching it during prototyping.
Here are the top factors that should drive your tooling decision:
Empirical data shows a 50-80% per-part cost drop when moving from prototype to production volumes in regulated industries. That savings only materializes if your design is locked and validated before you invest in production tooling.
For teams doing prototyping in aerospace or prototyping for automotive, the tooling path you choose directly determines whether you hit your program milestones or spend months in costly rework cycles.
Prototype tooling uses lower-cost, faster methods to produce functional parts for validation. Think aluminum molds, rapid CNC machining, and additive manufacturing. These approaches get you real parts in days or weeks, not months.
The primary purpose is iteration. You need to test fit, form, and function before locking a design. In aerospace and medical, CNC and additive manufacturing are widely used to produce prototype parts that validate performance and support regulatory submissions. These are not cosmetic samples. They are engineering-grade parts built to test real-world behavior.
Prototype tooling is the right choice when:
The trade-off is tool life. Aluminum molds typically handle 5,000 to 10,000 shots before degrading. They are not built for repeated high-volume runs. But for early-stage validation, that limitation is irrelevant. You are not trying to run a million parts. You are trying to prove your design works and satisfies your compliance requirements. Understanding how materials in prototyping impact part performance is critical at this stage.
Pro Tip: Request first-article inspection reports from your prototype tooling runs. These documents become evidence in regulatory submissions and can significantly accelerate your certification timeline.
Production tooling is engineered for longevity, consistency, and scale. Molds are typically made from hardened steels like H13 or P20, designed to run hundreds of thousands or even millions of cycles without significant degradation.
The upfront investment is substantial. Production tooling uses hardened steels with costs ranging from $15,000 to over $200,000 depending on complexity, and lead times of 8 to 20 weeks are standard. That is a serious commitment. But at high volumes, the per-part cost drops dramatically, sometimes as low as $0.10 per unit, making it the only economically viable path for mass production.
Here is a snapshot of what production tooling typically involves:
| Factor | Typical range |
|---|---|
| Tooling cost | $15,000 to $200,000+ |
| Lead time | 8 to 20 weeks |
| Tool life | 100,000 to 1,000,000+ shots |
| Per-part cost at scale | As low as $0.10/unit |
| Ideal volume | 100,000+ units |
For regulated industries, production tooling also requires certified materials, tight engineering tolerances, and formal regulatory reviews. In medical device manufacturing, for example, the mold qualification process includes Installation Qualification, Operational Qualification, and Performance Qualification protocols. These are not optional. They are part of your submission package.
The industrial prototyping process leading up to production tooling investment is what determines whether that investment pays off or becomes a liability.
To make your next decision easier, here is a direct breakdown.
| Factor | Prototype tooling | Production tooling |
|---|---|---|
| Tooling cost | $1,000 to $15,000 | $15,000 to $200,000+ |
| Lead time | 1 to 4 weeks | 8 to 20 weeks |
| Material | Aluminum, resin, rapid steel | Hardened steel (H13, P20) |
| Tool life | 5,000 to 10,000 shots | 100,000 to 1,000,000+ shots |
| Best-fit volume | 10 to 5,000 units | 100,000+ units |
| Regulatory fit | Validation samples, DFM testing | Full production certification |
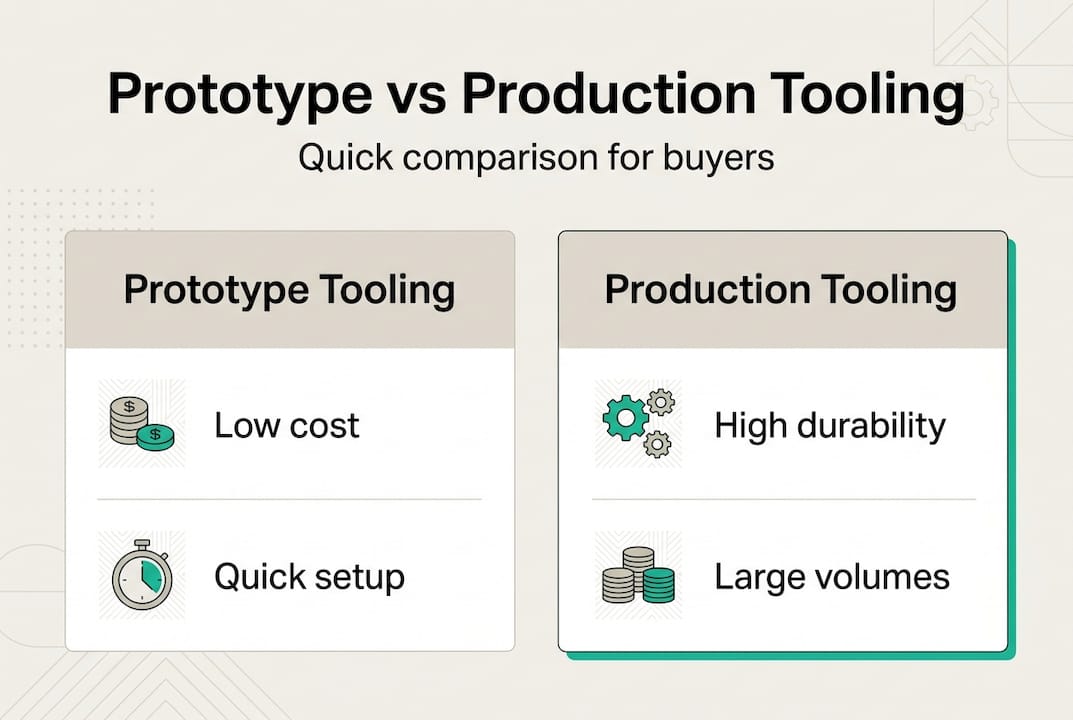
Production tooling is for volumes 100k+ with per-part cost reduction at scale. Prototype tooling is for fast validation at low cost. Both serve distinct, critical roles.
The most common mistake buyers make is skipping prototype tooling entirely to save upfront cost, then discovering a design flaw after production tooling is cut. A single engineering change order on a hardened steel mold can cost $10,000 to $50,000 and add weeks to your schedule. That is far more expensive than a prototype run that would have caught the issue in week two.
Key takeaways from this comparison:
Now that you know the trade-offs, here is a step-by-step way to make your decision.
For precision engineering in prototyping and medical device prototyping, the framework above applies directly. The goal is to iterate fast, validate thoroughly, and only invest in production tooling when you have the data to back it up.
Pro Tip: Build a simple decision checklist before every new project: volume target, cost per part threshold, certification status, and supplier capability. Running through this checklist takes ten minutes and can save months of rework.
Bridge tooling is worth mentioning here. It sits between prototype and production, typically using semi-hardened steel or high-grade aluminum. It handles volumes of 5,000 to 50,000 units and gives you production-representative parts while your full certification process completes. It is not always necessary, but for complex regulated parts, it is often the smartest middle step.
At WJ Prototypes, we work with product development managers and procurement teams across aerospace, automotive, and medical to navigate exactly these decisions. Our engineering team reviews your design, recommends the right tooling path, and delivers parts that support your validation and compliance requirements. Whether you need rapid CNC prototypes using our CNC machining services with a wide range of CNC machining materials, or flexible low-volume runs using vacuum casting materials, we have the process expertise to match your project stage. Our instant quoting tool gives you cost and lead time transparency from day one, so you can plan your tooling budget with confidence. Contact us to discuss your next tooling strategy and get a quote tailored to your program requirements.
Prototype tooling is built for fast, low-volume trials and design changes, while production tooling uses hardened steels for high-volume, repeatable manufacturing with lower per-part costs after a higher initial investment.
Use prototype tooling when you need to validate designs, test compliance, or confirm functionality before committing to high-cost production molds. Prototype tooling validates DFM early, which is especially critical in regulated industries.
Bridge tooling fills the gap between prototypes and full production, handling volumes of 5,000 to 50,000 units. Industries use bridge tooling for low-volume validation before committing to full production tooling investment.
Starting with prototype tooling helps you catch design flaws before they become expensive production problems. Empirical data shows a 50-80% per-part cost drop when moving from prototype to production volumes, but only when the design is validated and locked before that investment is made.
Material Selection in Aerospace & Automotive Prototyping
How to Prototype Parts | Step-by-Step Guide for Professionals
Precision Engineering in Prototyping: Driving Breakthroughs
How to Choose Prototyping Services for Precision Results
SERVICES
RESOURCES


